I’ve followed Battletech for a good portion of my life – whether it was through the video games, occasional dabbling with the novels, or the tabletop rules. I watched older kids play the tabletop game at my local game store in the 90s, but didn’t really get a chance to play myself until the last year or so. I say this to emphasize that I am not, in fact, an expert (no, not even after a year of hyperfixating on tabletop Battletech). Most of the writing I do here is to help organize my thoughts as I get more knowledgeable about the hobby and hopefully articulate the stuff I like (and dislike) about the setting and rules in a way that feels approachable for other folks who might be curious. I feel like this is an important disclaimer, lest a super-experienced player happen across what I write here. I’m going to make mistakes or misunderstand stuff as I learn. That’s kind of the fun and the critical preoccupation I’ve had for most of my adult life: celebrating failures as opportunities to learn and a core part of what makes us human (see also: all the stuff I’ve written about roguelikes and permadeath over the years).
That out of the way, remember this post about preparing for a pickup game of Battletech? The one where I assumed from the jump that I’d be throwing some mechs into a larger force with other players and did not once account for the possibility that I might need to field my own force by myself? That post? That one?
Well.
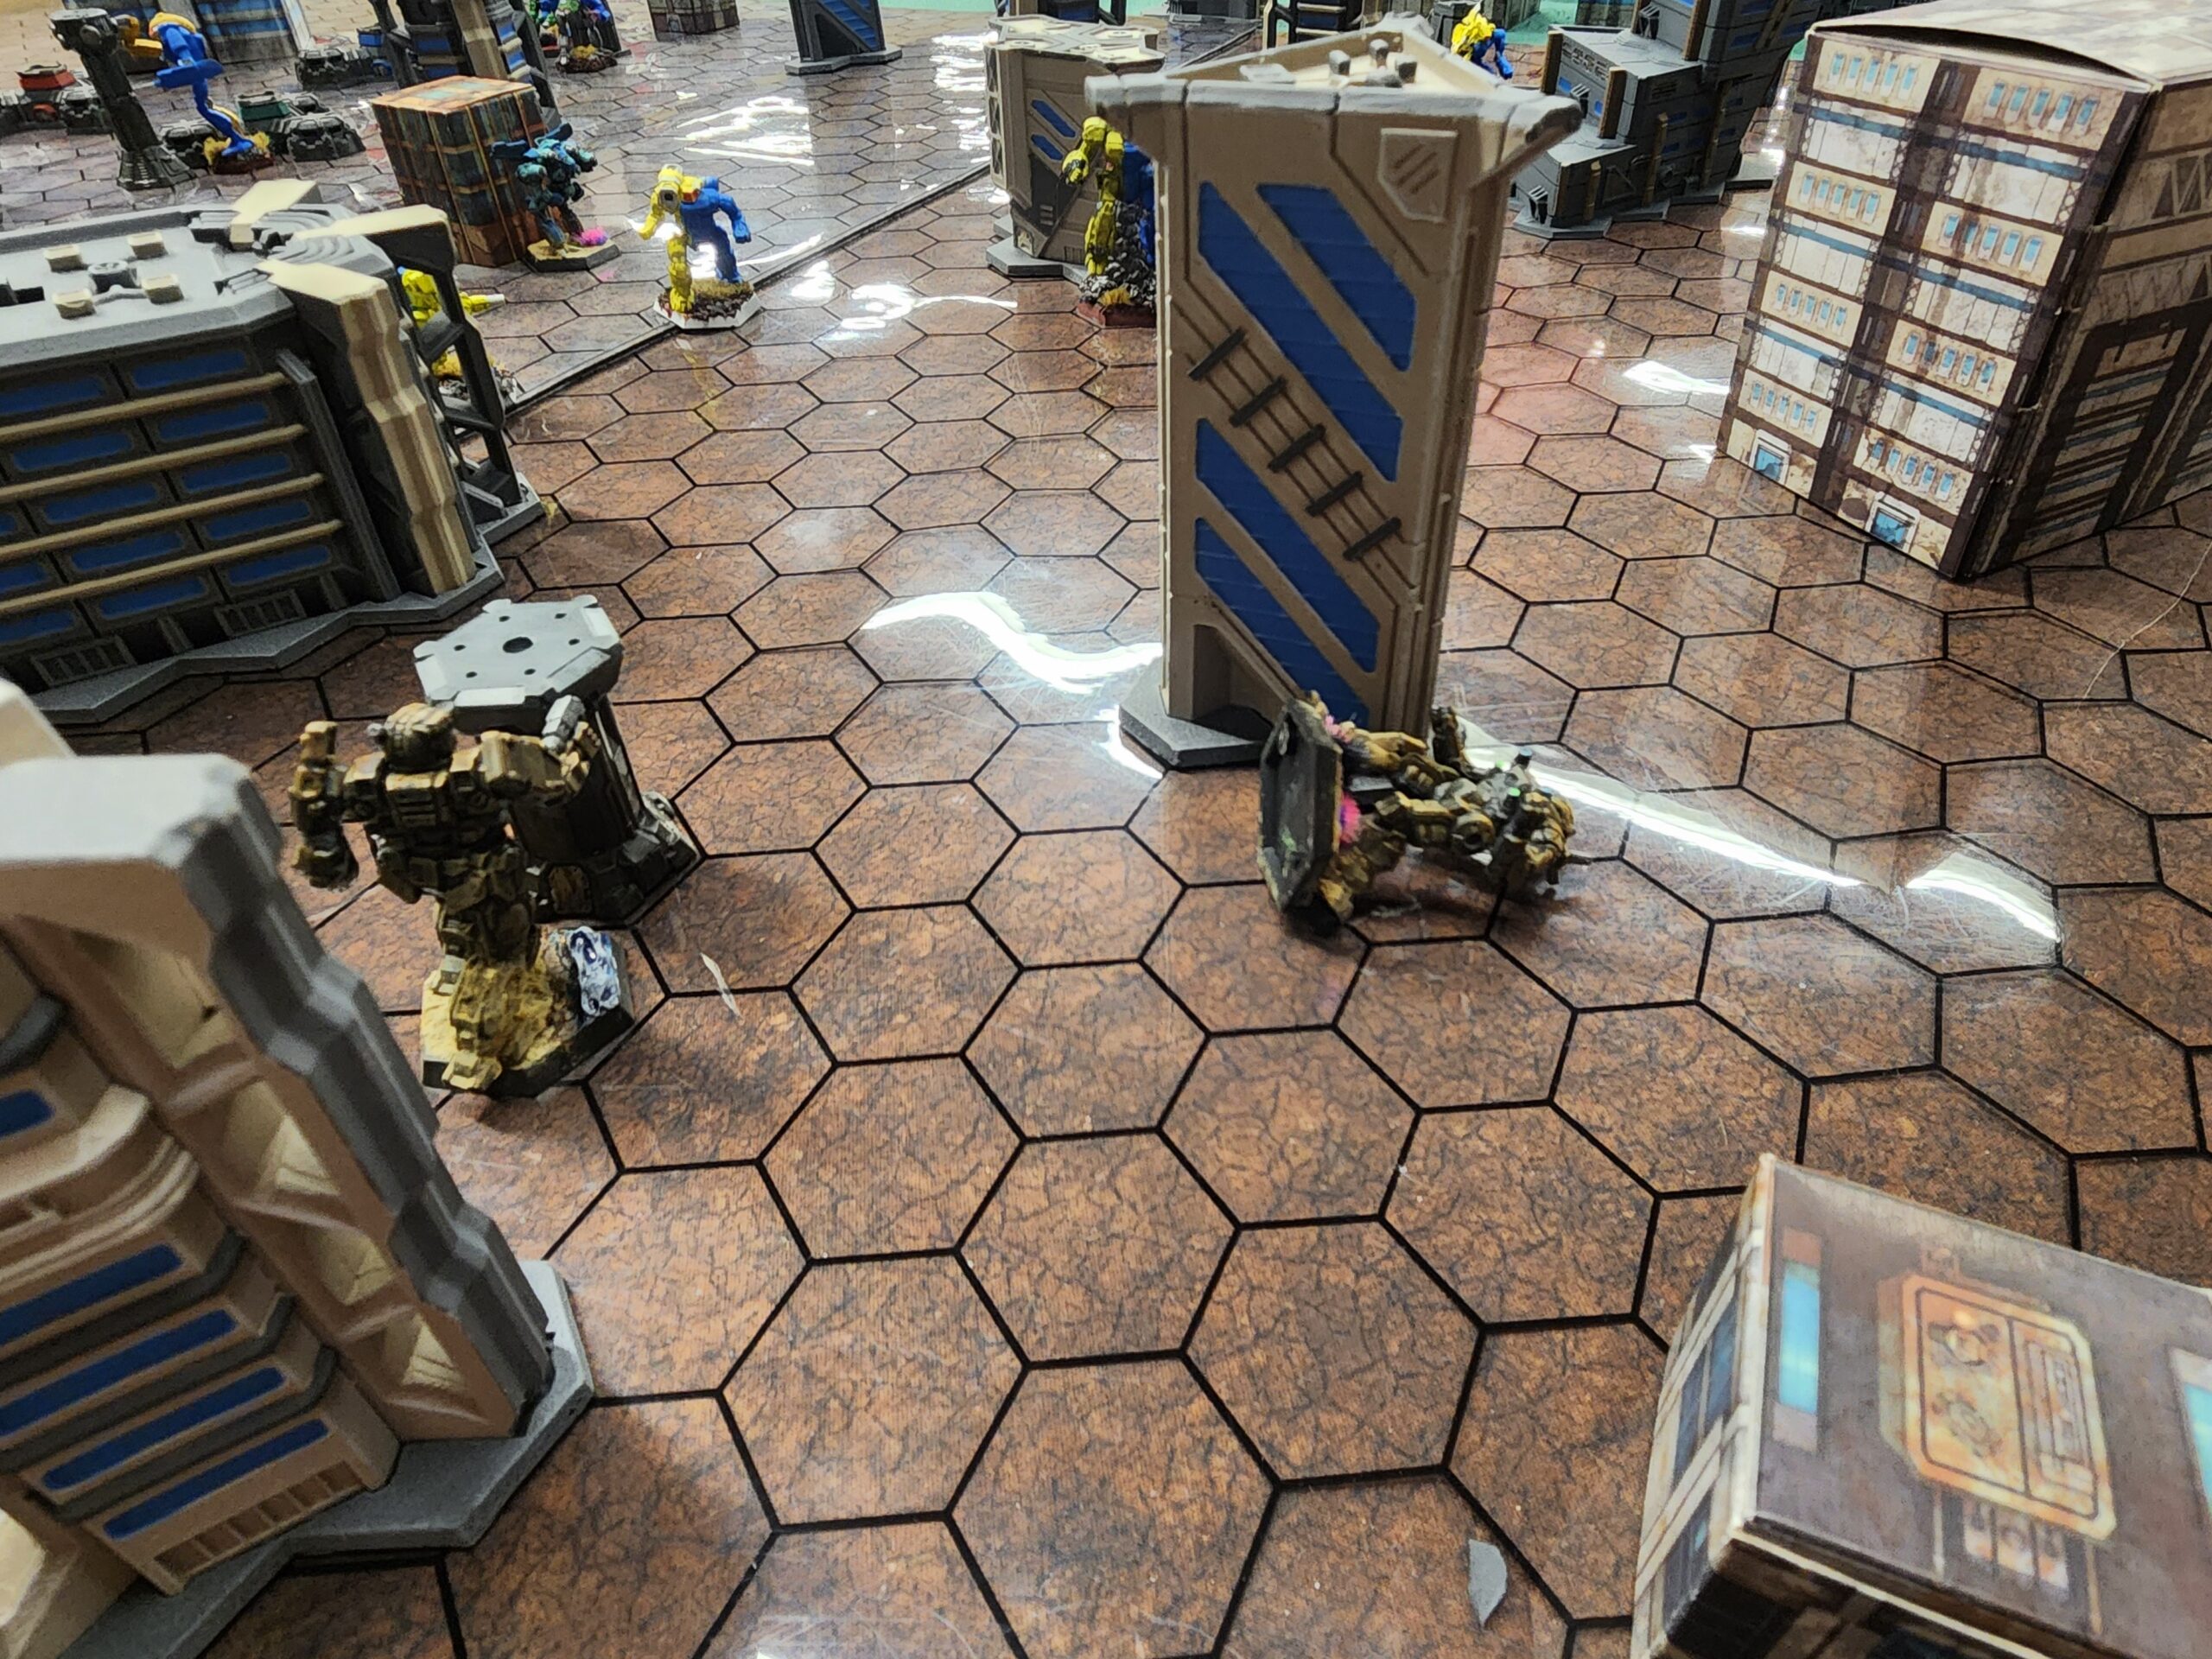
When I got to the shop, I found that most of the weekly players were over on the Classic Battletech table and that it would be a solo mission on my end. Me vs. the Aces deck, operated by the person who also happened to have penned that week’s super rad scenario. I’m going to keep specifics vague for privacy reasons and because I have no idea if that scenario might wind up folded into something official at some point. I hope it does, though. It rocks.
The Scenario
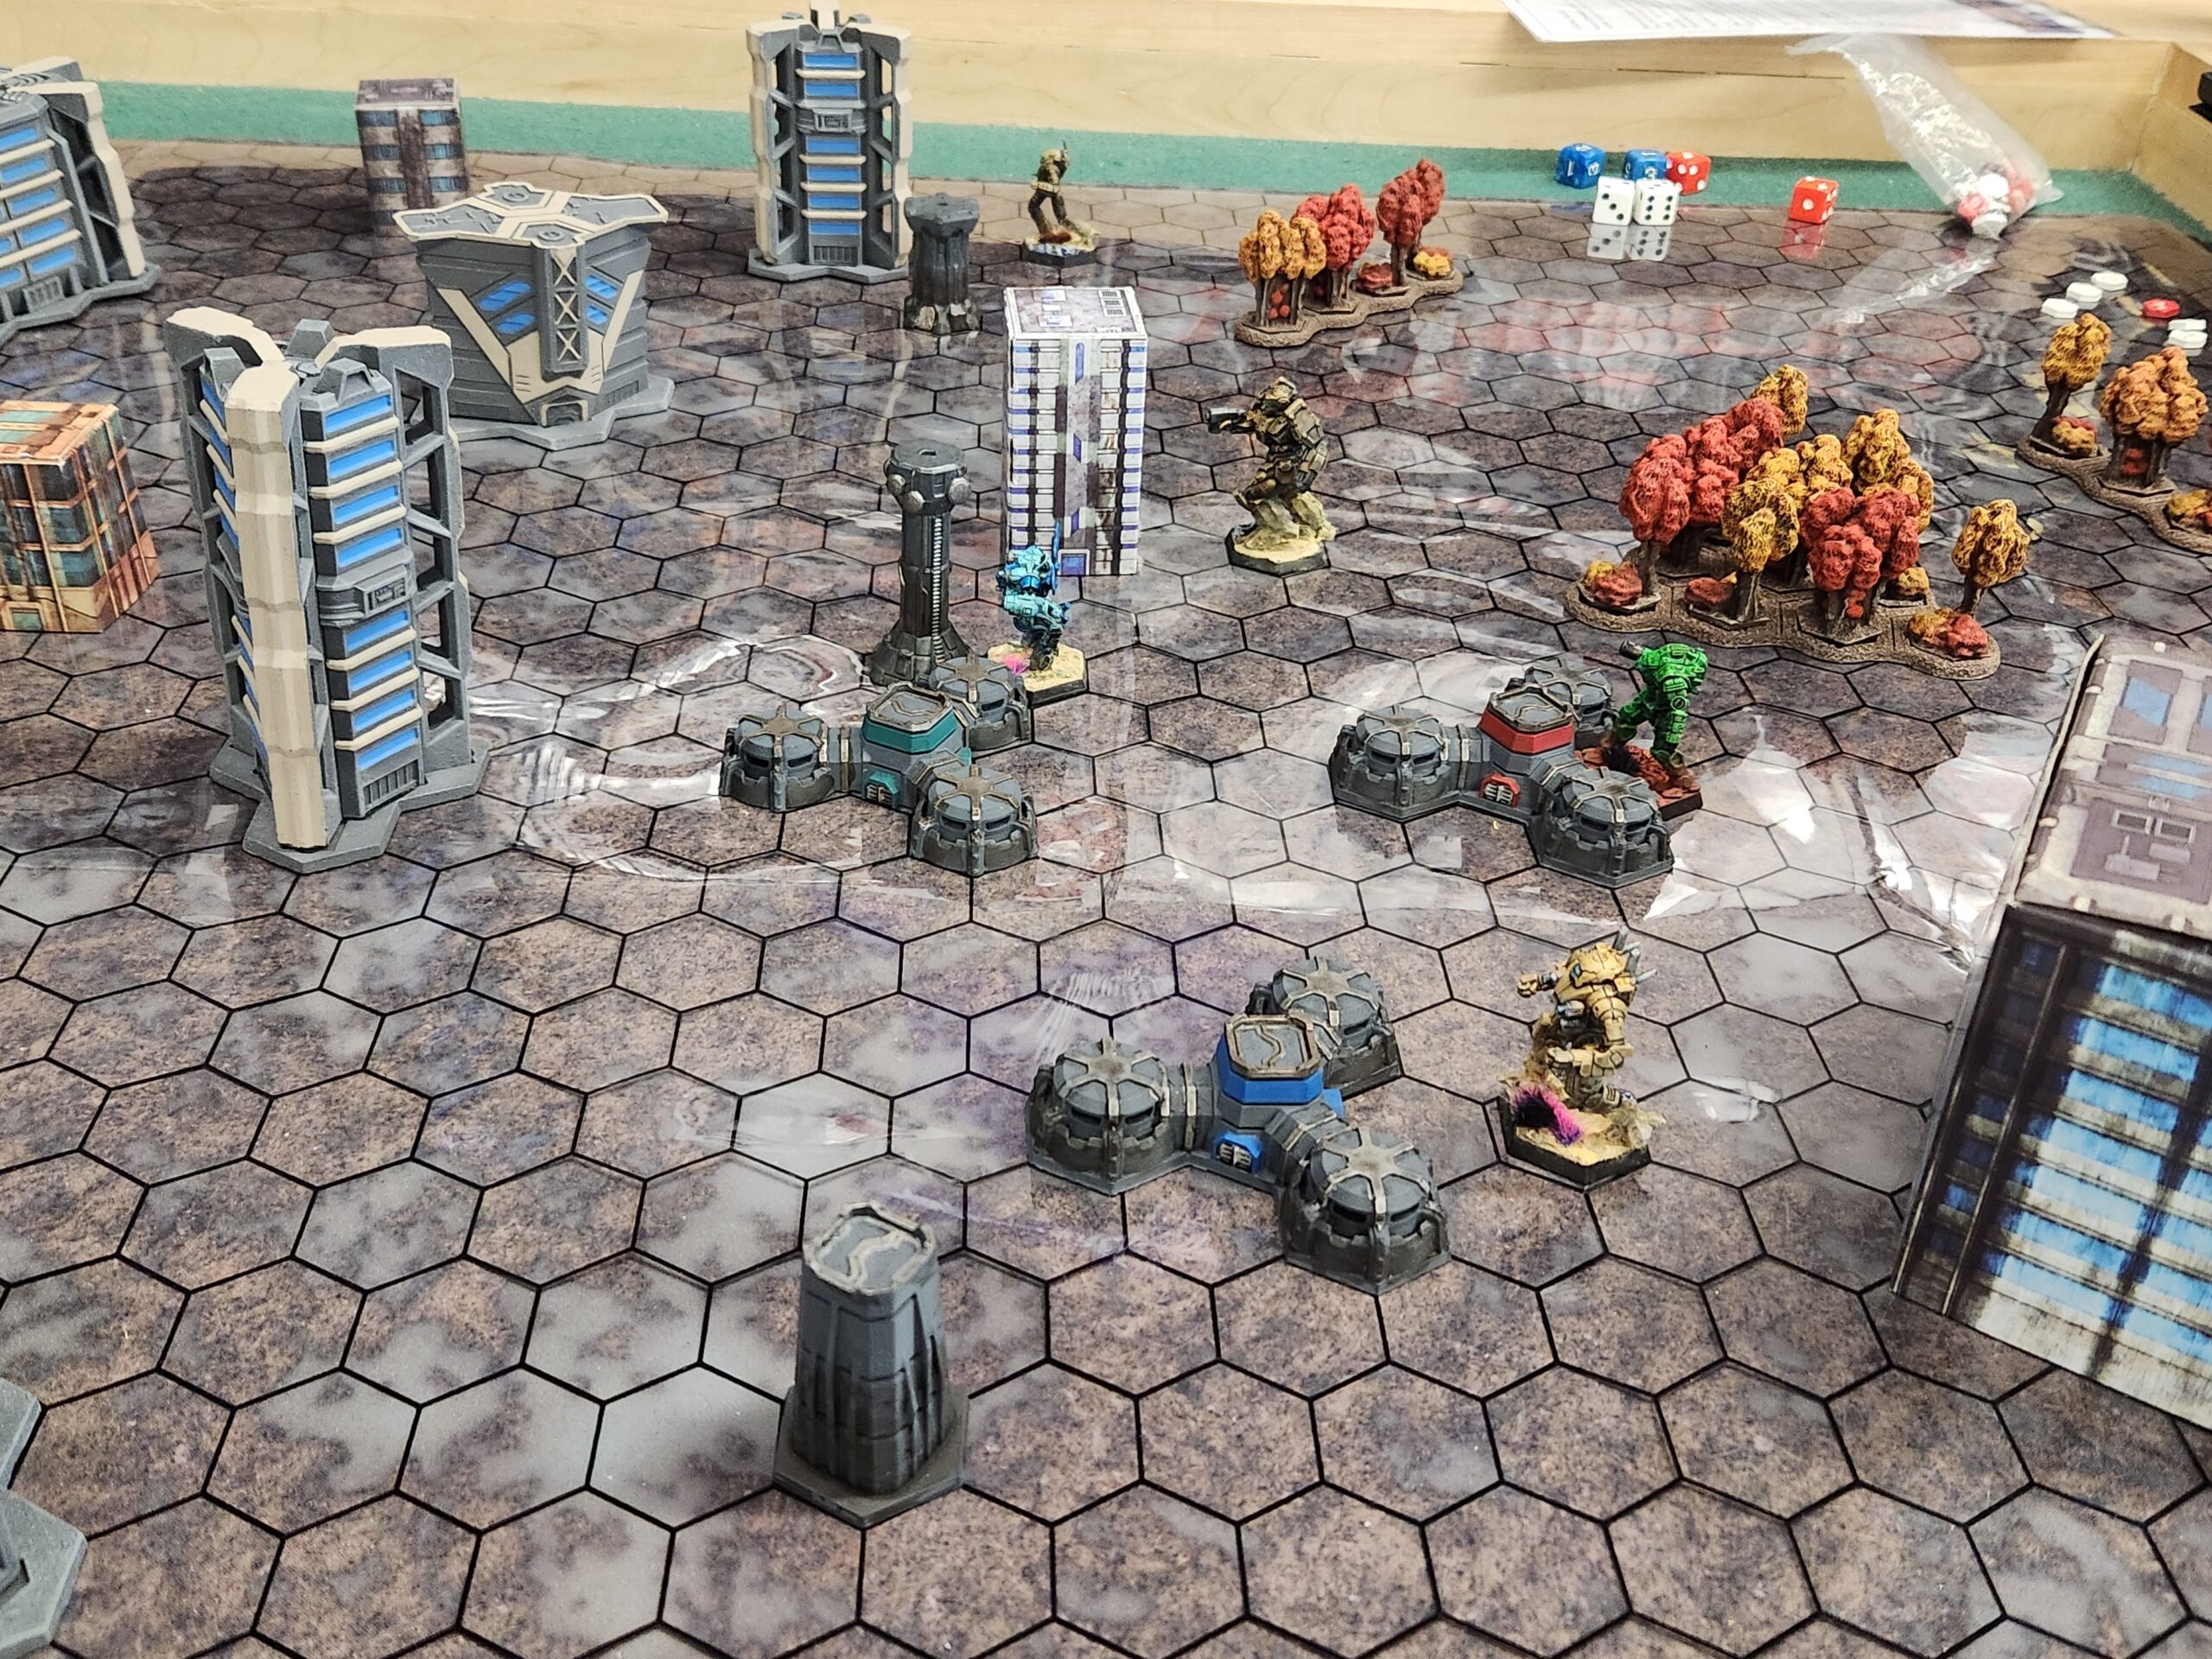
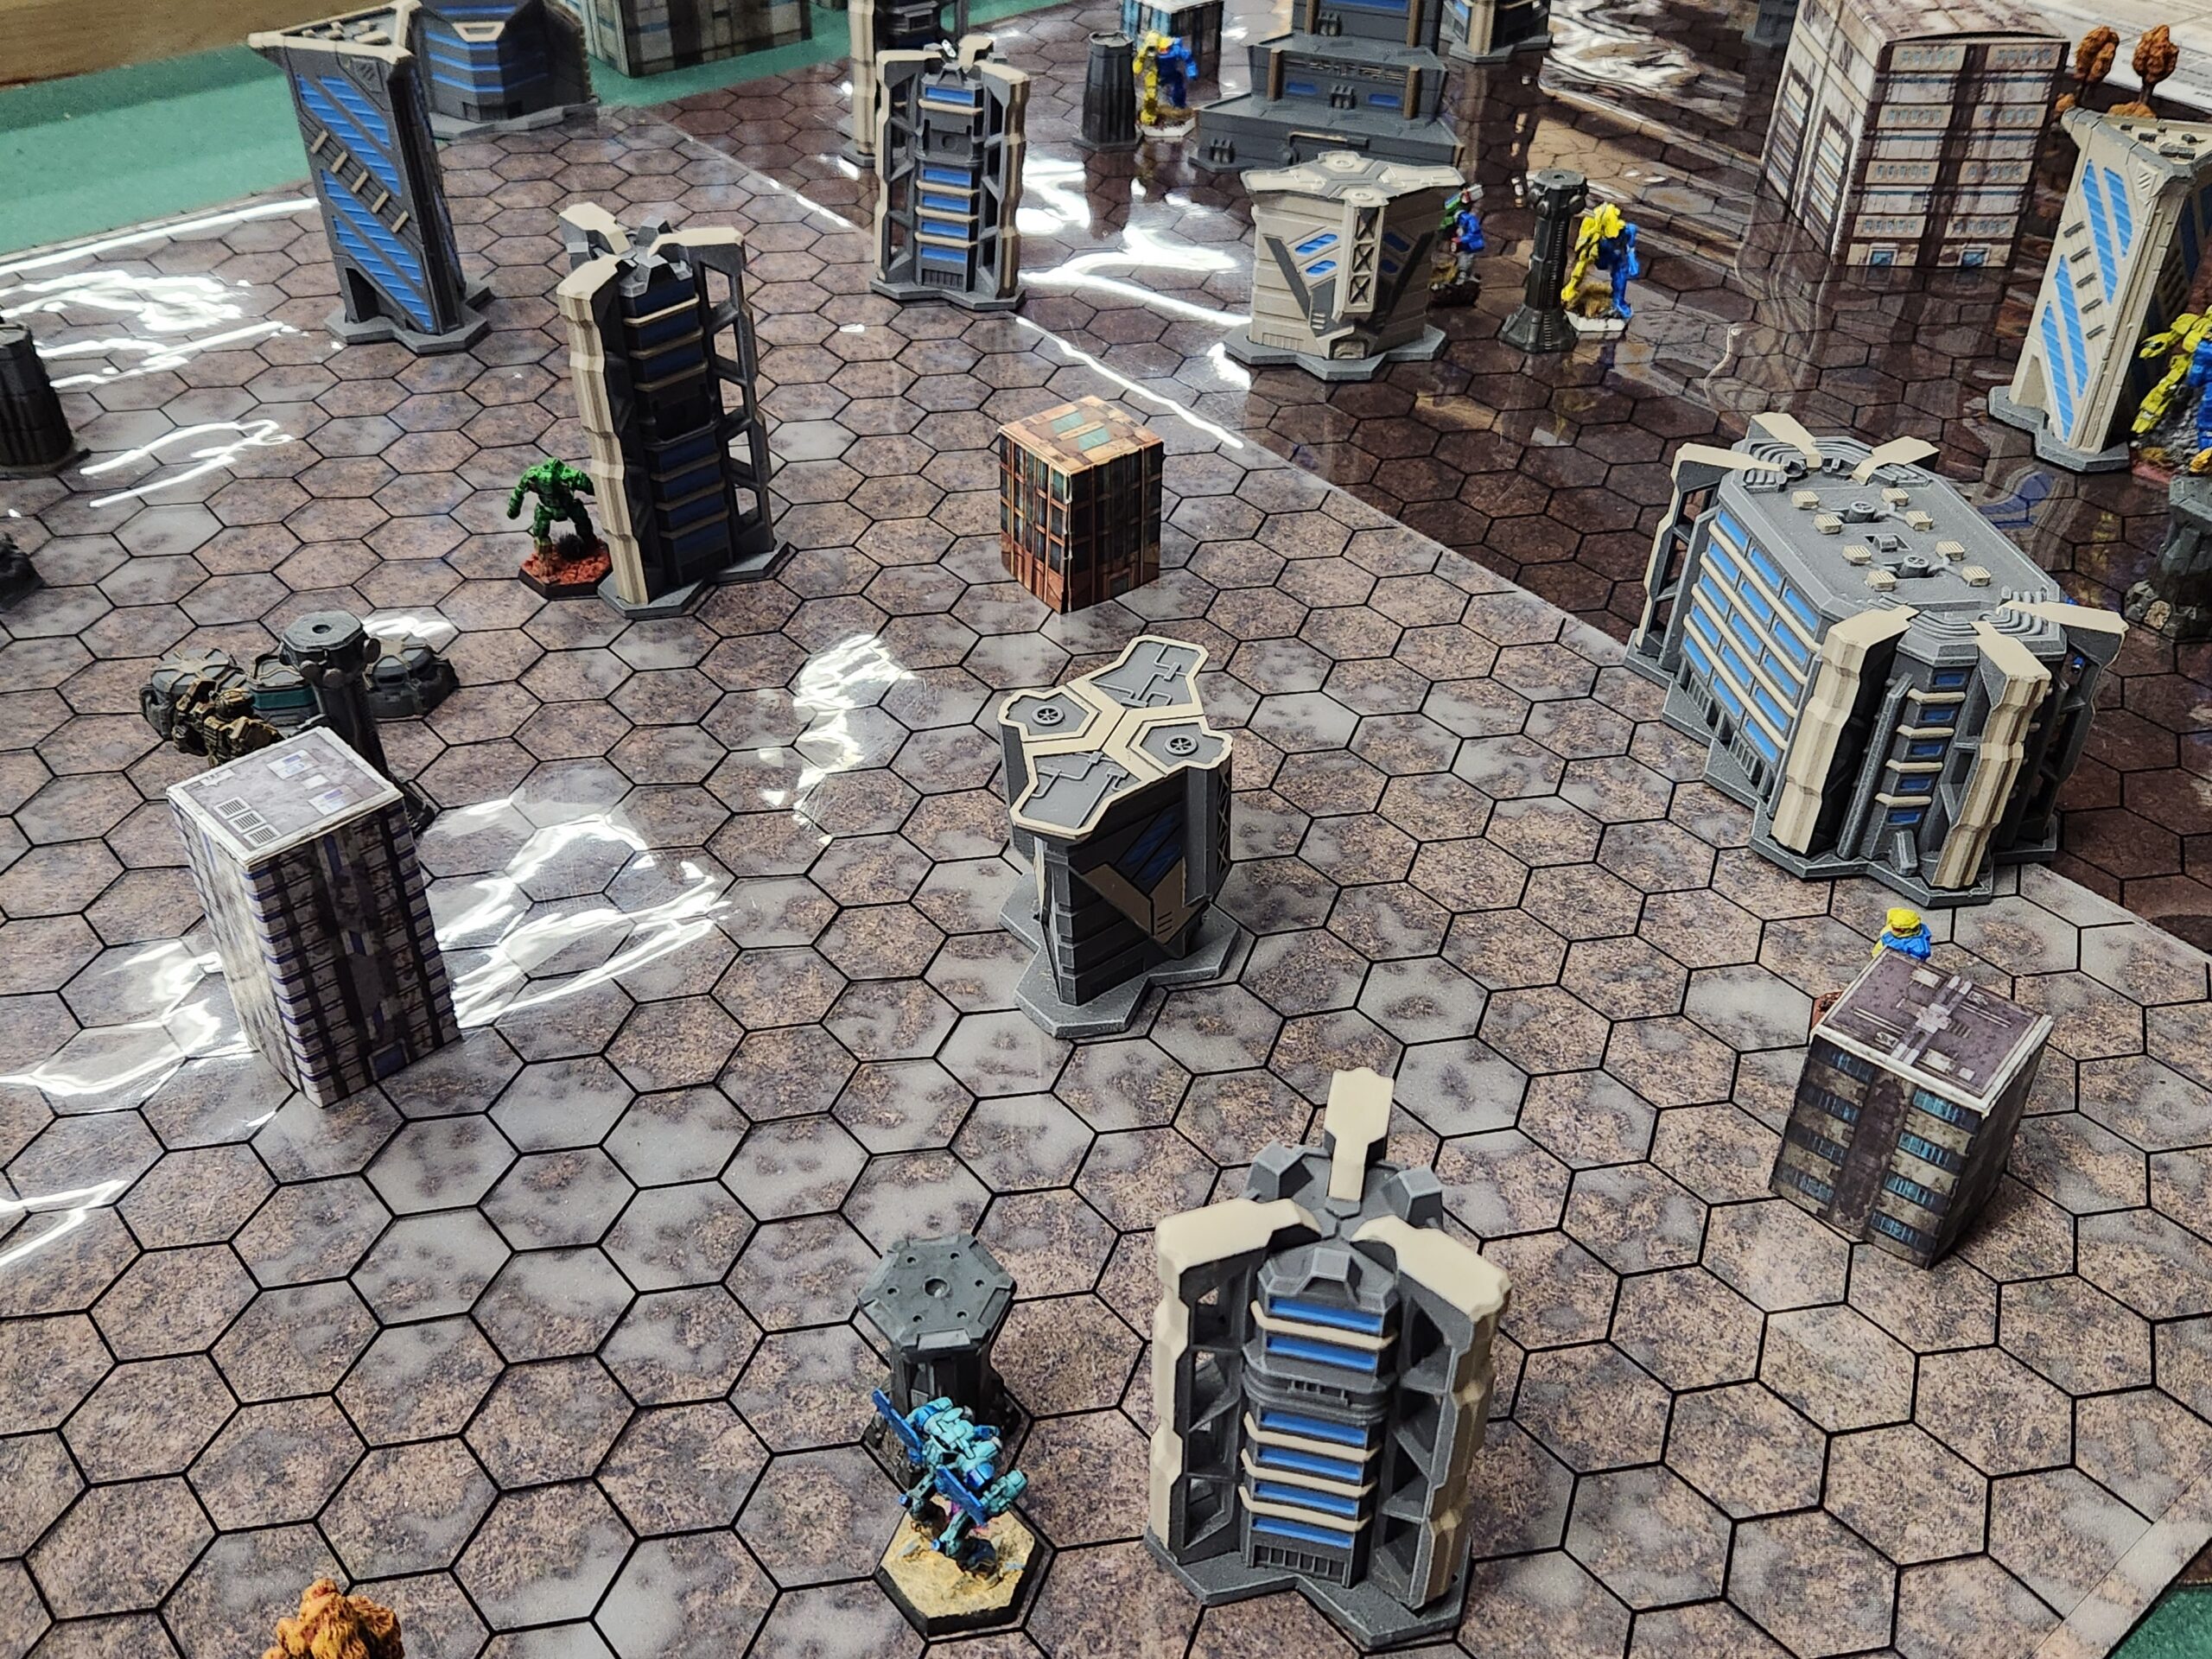
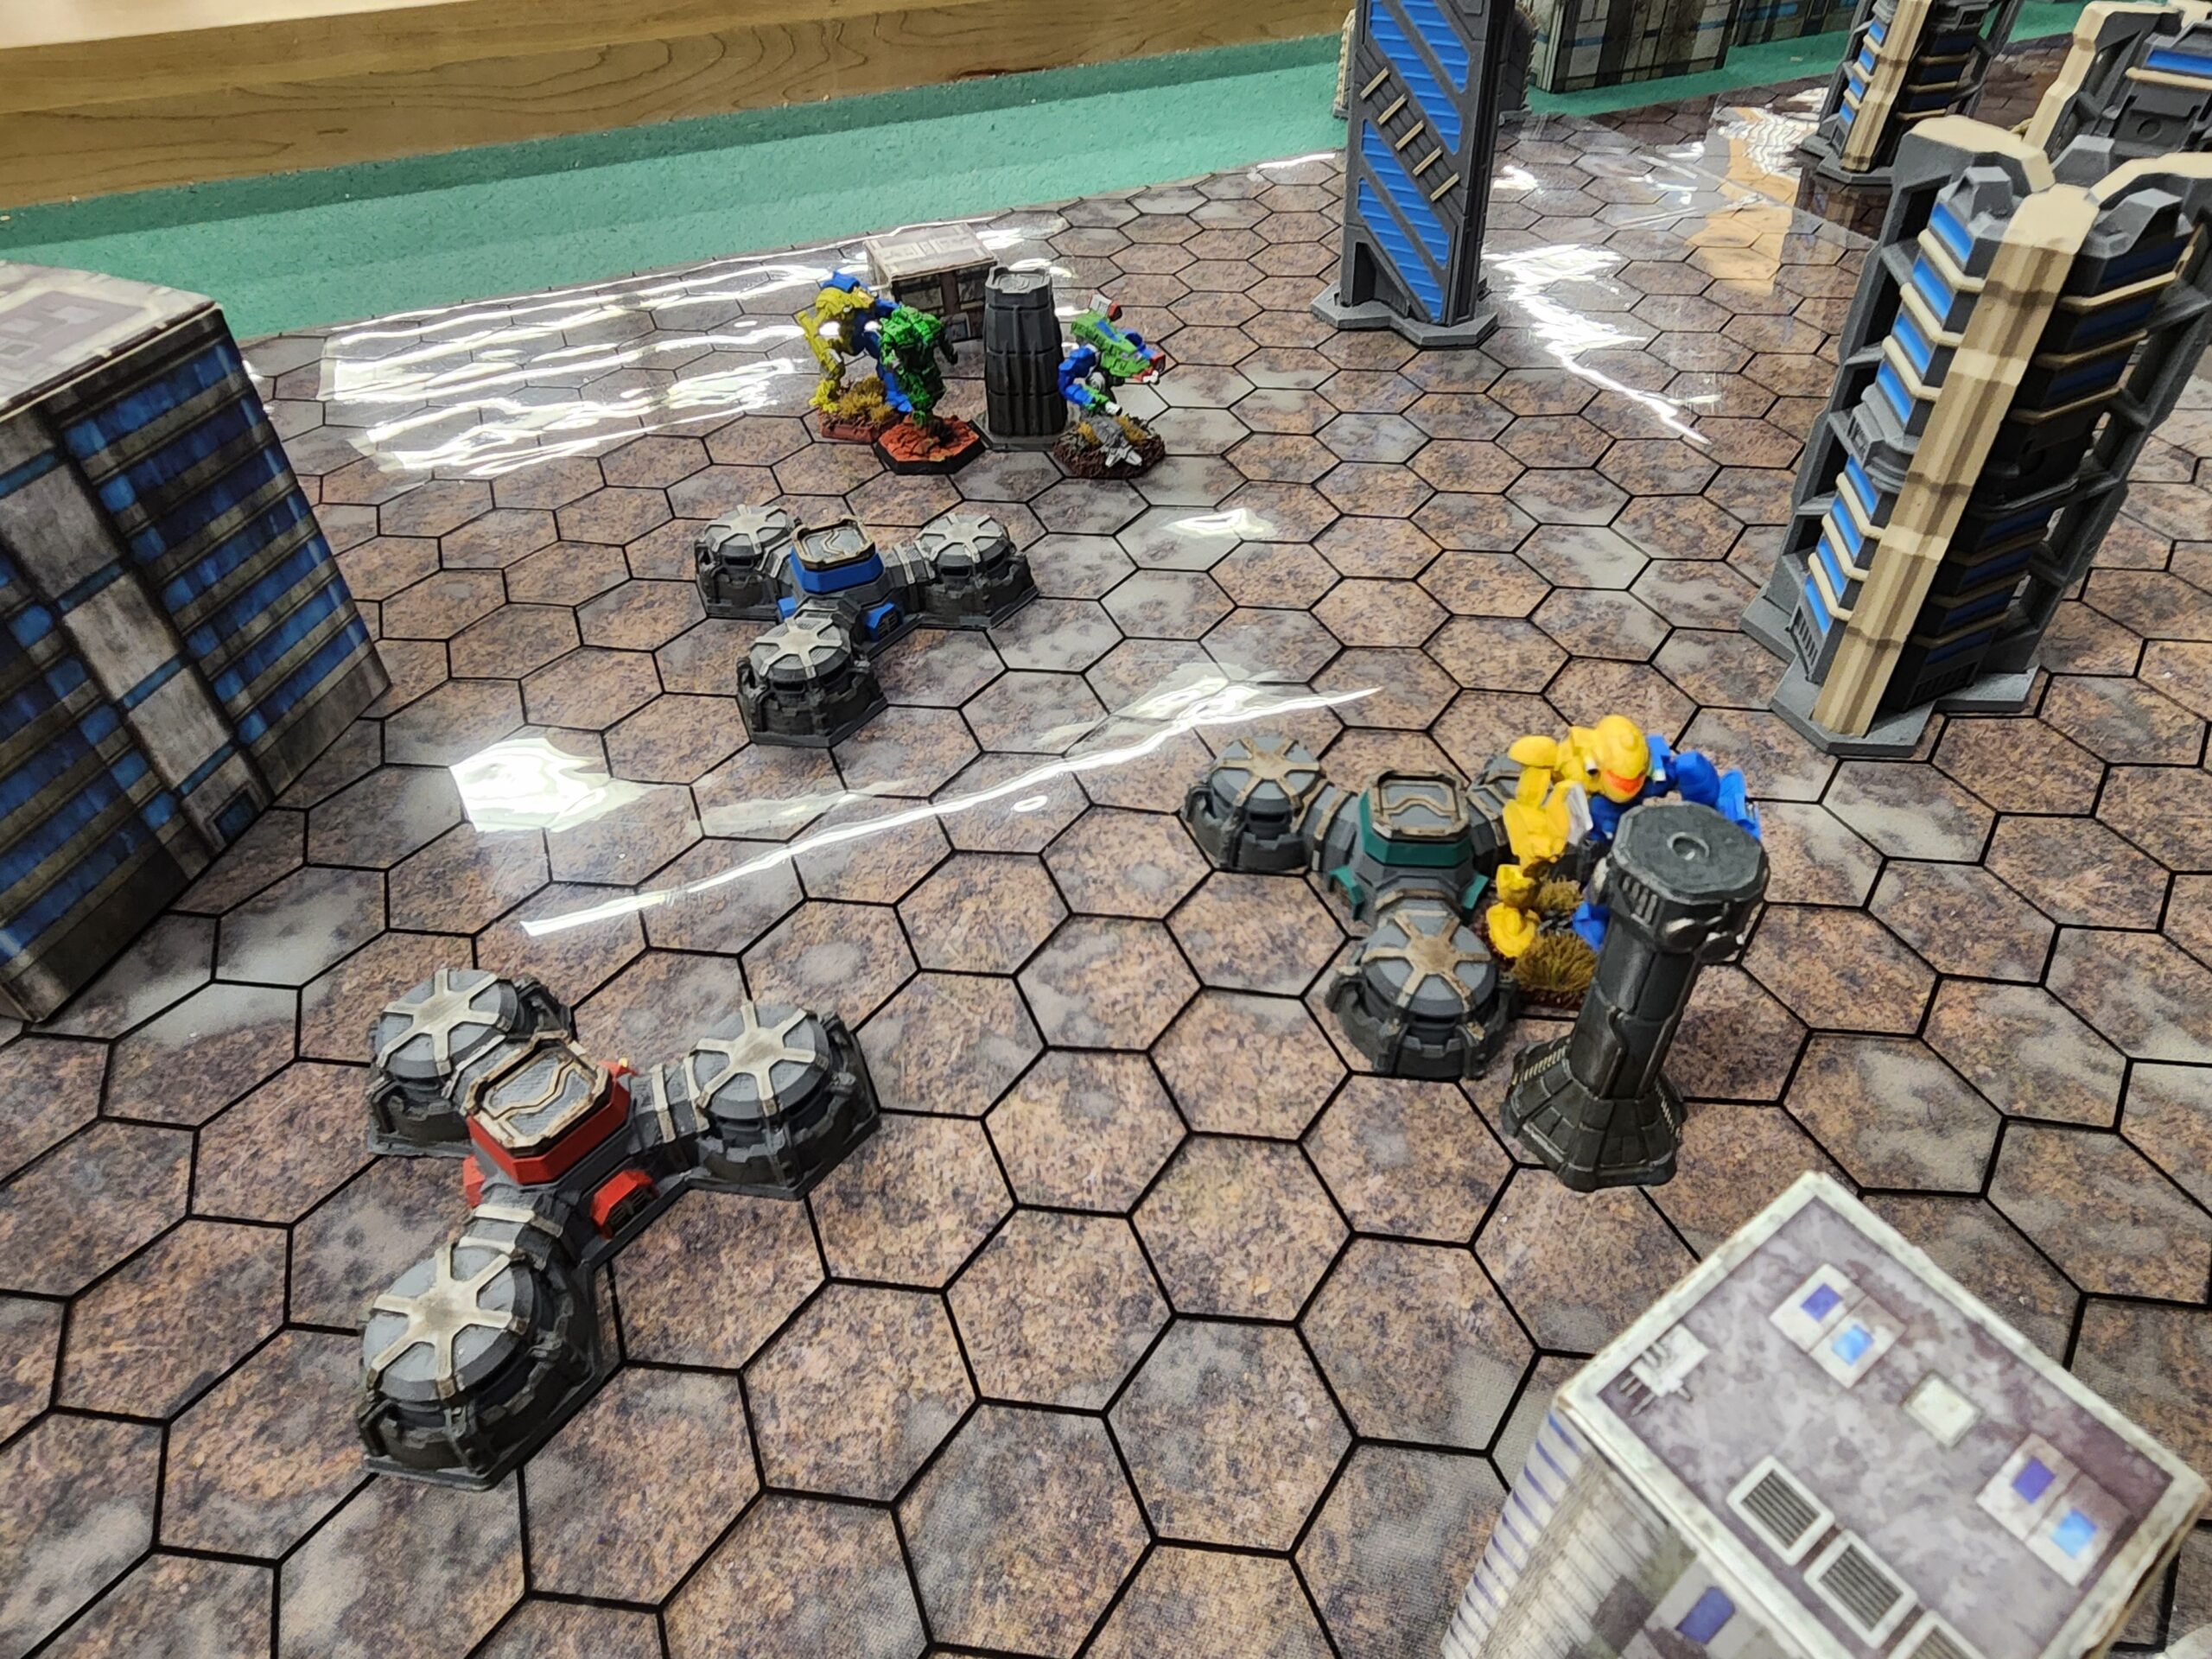
This is a recon-focused mission. There are six objectives, spaced evenly across the middle of the map. These are communication arrays that turn on and off based on the ebb and flow of power thanks to a particularly nasty storm. These objectives are connected in pairs going north to south, creating three lanes of possible objectives. One to two of these rows of arrays are active on any given turn and can be accessed by placing a mech in base-to-base contact. At the start of every turn, we figure out which have been knocked out by the storm. These arrays can be shut off with ECM or turned on with active probe (including arrays that are disabled by the storm).
Requirements:
- 300 PV, no force # restrictions
- No unit can move slower than 10″ (or walk speed of 5, for Classic)
- No faction/era restrictions
- Objectives are scored at the end of the turn by the team with the highest total tonnage still alive next to the objective. In the case of a tie, nobody captures it.
- If ECM and an Active Probe are in effect against an objective, the more skilled pilot wins the tie. Angel ECM (AECM) always beats an Active Probe, while a Bloodhound Probe always beats ECM. In a case where AECM is vs. a Bloodhound Probe, the more skilled pilot wins.
- The rule for variable attack rolls will be used.
A Bit of Background
A slight update from the list of possible options: I didn’t bring the Thug or Dola – a chunk of the basing for the Thug dropped off when I was applying pigments and I didn’t have the time or patience to fix it. Also outside of being a decently speedy assault mech with some solid damage numbers, the Thug didn’t have any abilities to interact with the objectives outside of scoring. The Dola’s canopy wasn’t coming together in a way I really liked and also the antenna fell off while I was trying to apply the basing. I suspect this thing is probably going to force me to get a pin vise so I can drill out the super glue in there and then properly situate a new antenna so it won’t fall out again. I can’t overstate how much I like the Dola as a concept and design but holy shit that antenna fucking sucks. The antenna really did look cool and while some of the older sculpts from Iron Wind can look a little fucking weird, this is probably the happiest I’ve been with a paint job for a metal mini outside of my Yeoman. If I’m going to keep occasionally assembling metal minis, I was going to need to figure out how to pin things. Right now, stuff is held together with gorilla glue and a prayer. I also didn’t pack up the Centurion, Scorpion, or Hunchback – I felt like I had a decent set of options that could contribute to a force. I also realized that I painted up the Mongoose in anticipation of the last time this scenario was running, so I threw that in the box as backup.
Every force pack for Battletech comes with a double-sided Alpha Strike card for each mech, typically representing two common variants (or variants related to the general basis for the model). These cards can be used with dry erase marker to track things like damage to armour or structure, or to track heat/critical hits. I am fast approaching a point where I need to organize and store these cards because it’s getting a little out of hand. You can also go to the Master Unit List to find digital stat sheets for Alpha Strike for just about everything in the game (I think drop ships and a few other vehicles like that don’t have Alpha Strike conversions yet). If I’m playing at home, I’ll usually use the roster builder for Jeff’s Battletech Tools to automate some things on a laptop. On the road, I save a PDF with images of the Alpha Strike cards I want to use and just annotate that with an eInk tablet. I also note the step value to increase skills so that I can adjust to fit the force if needed. Nobody’s really at the level of sweaty (at least at the Alpha Strike table) where we start making our pilots worse to decrease the PV cost.
At any rate, here’s what I had to work with:
- Assassin ASN-109: 33 PV
- Spartan SPT-N4: 57 PV
- Charger CGR-1X1: 59 PV
- Ostsol OTL-9M: 49 PV
- Hierofalcon Prime: 46 PV
- Ostscout OTT-8J: 33 PV
- Mongoose MON-96: 35 PV
- Charger C: 83 PV (lol. lmao.)
A note about this list: I chose these mechs because I had recently received them as a gift (the Charger and Assassin) or had been painting them for a while and needed that kick in the ass to force myself to finish (Hierofalcon, Ostsol, Ostscout, Mongoose). A lot of them are relatively new Catalyst releases, or in the case of the Hierofalcon, a brand new chassis added to the setting with the Recognition Guides for the IlClan era that was only available in metal. I probably had a handful of appropriate mechs already painted that I could have thrown on this list if I’d bothered to look. To try to field a force like this as a cohesive whole is not advisable – especially not against another human being.
If we leave off the Charger C (because I’d have to pick between the two anyways), that actually puts me over the 300 PV force limit by 12. If I were Sweaty Like That, I could have increased the Mongoose pilot skill to 7 to reduce its PV by 12. Pilot skill in Alpha Strike does double duty for Gunnery/Piloting skills in Classic. It’s the base difficulty for ~doing stuff~ in the game. I won’t get into the weeds on the costs of increasing and decreasing pilot skills – they can definitely warp the game in surprising ways. There are two tables in the Alpha Strike Commander’s Edition book that explain the PV implications of adjusting skill levels and trying to explain that without just replicating the tables is melting my brain. It might help to just walk through the usual calculation for determining what number you need to roll higher than with 2d6 is: Skill (usually 4) + (range difficulty: +2 for medium, +4 for long) + (target’s base Target Movement Modifier or TMM: how hard is that thing to hit) + other considerations (is the target in partial cover or woods, does the target have Stealth active, did the attacker jump, is the attacker overheating, etc.). This means you want lower skill to have a better chance at hitting stuff, but that also means your units are worth more on your list. There are also lore implications – some players will insist that every Clan mechwarrior should be upgraded to Skill 3 because they were genetically modified and trained from birth to fight in the Clans’ freakazoid honour duels and endless wars. I do have to admit that by default forcing Clan lists to upgrade to Skill 3 for everything might actually balance some of the issues with matchups against the Inner Sphere. That a post for another time, though.
So let’s see how that formula works in action: say one of the opposing forces wanted to shoot my Spartan at medium range, that’s 4 (pilot skill) + 2 (medium range) + 2 (the Spartan’s TMM) + 1 (because the Spartan has Stealth active). This means the opposing forces need to roll a 9 or better on 2d6 to do damage. That was a very common difficulty roll for most of the game, meaning the opposing force had a 27.77% chance to hit on any given roll. This means that if I made my Mongoose pilot worse by going from Skill 4 to Skill 7, the vast majority of shots are impossible or very unlikely: a 3 point increase on the calculation above means you need 12s (2.77% chance) to hit a mid-range shot with some minor complications. Why would I do this? because I’m not ever going to use that thing to shoot. One of the movement options in Alpha Strike is sprinting – you can use 150% of your movement points but can’t shoot or attack that turn (this is available in Classic, but as an optional rule). Having a dork with 30″ movement while sprinting and a Bloodhound Active Probe might have been worth cramming into my list, but I’m getting ahead of myself.
We’re using the variable attack rule, meaning instead of rolling once and applying all the damage at the appropriate range bracket, you roll a set of 2d6es for each point of damage at the appropriate bracket (and add more pairs of dice if you’re doing something that might increase the potential damage). It makes things a little more dynamic but also slows down the game. If we didn’t have it in place, I feel like the game could have had much larger swings: some shooting phases where nobody hits anything and then others where a single hot roll deletes a mech. I tend to be ambivalent about the variable attack rolls rule, while a lot of players absolutely refuse to play without it.
Force Selection (The part where I beg the audience’s forgiveness for being a coward, a rube, and a dilettante)
The moment you get to the shop, you’re burning time. They usually start wrapping games up around 8:00-8:30, so you have just shy of three hours to move stompy robots around and chuck dice and that time goes fast. Upon learning the ramshackle list of support mechs I’d brought would need to go toe-to-toe with a more considered force, I made a series of very fast decisions. From the list above, I just cut the last two options right off the bottom. I did this primarily because the document I had was listed in that order, so navigating it without having to look at a mech I didn’t have on the table seemed appealing. I had to pick between the Charger CGR-1X1 and the Charger C anyways, and I couldn’t have added the Mongoose to the mix without doing some skill changes.
Sometimes you make decisions with the full knowledge that you will have to shoulder their spiritual and philosophical burden for the rest of your days. The moment the decision is made, it cannot be undone. Once your choice is made, the ineffable weight will settle behind your eyes and upon your conscience. This ballast provides no stability and cannot be dumped. Call it regret, call it the cowardly and selfish foreclosure upon a brighter timeline. I do not wish these decisions upon anyone. I was tested that day and I felt the enclosure of a funerary cowl upon my heart, as if to shield it from the rest of my pusillanimous form. If Anubis awaits me after my death, he will need no scale to take the measure of my heart. I will be damned in the time it takes that hoary old cynocephalus to take in my whole post-mortal situation.
I am not good at math, especially when expected to do it quickly. If you add up the PV for the Assassin, the Spartan, the Ostsol, the Hierofalcon, the Ostscout, and the Charger C, all at Skill 4, you get 301 PV. One point over the line. I could have asked the other player if they were fine with that discrepancy and maybe they would have been okay with it. I could have modified the Ostscout’s skill to level 5 and saved the 3 PV needed to run functionally the same force I ultimately chose. Instead, I chose what was expedient over what was right. I chose the Charger CGR-1X1. I will not ask your forgiveness, for I do not deserve it.
This meant I had a little bit of PV to work with. This is where my next mistake came. I simply made the Spartan and Charger Skill 3. I don’t think this was inherently a bad call – both made use of the increased skill level, but my main damage dealer was the Hierofalcon and I had to keep jumping it, meaning it whiffed on more rolls than I otherwise would have preferred. At the cost of improving those two, I could have probably made the Hierofalcon a skill 2.
The opposing force was operated using a prototype of the Battletech Aces deck. Aces was developed to automate an opposing force. I think a lot of folks talk about it as a “single player” mode, but I’ve found Aces probably plays better when there are other players involved, even if it’s just one person running the deck vs. another player. Another great potential application is two players using the Aces decks to automate two opposing forces like you’re playing SaltyBet but for mechs instead of AI-controlled fighting games. It’s really neat and I can’t wait for the box to come out, assuming it doesn’t cost a million zillion dollars thanks to tariffs. I won’t go into detail here, but I’d also be really shocked to see major box releases (either Aces or Gothic) this year if we’re still on the 90 day trade war roller coaster/market manipulation simulator for the foreseeable future.
What’s important to note here is that the opposing force is generally well designed. I don’t have the specific variants, but I believe it was:
- Commando
- Crusader
- Berzerker
- Hatchetman
- Bushwacker
- Wolfhound
- Hunchback
- Nightsky
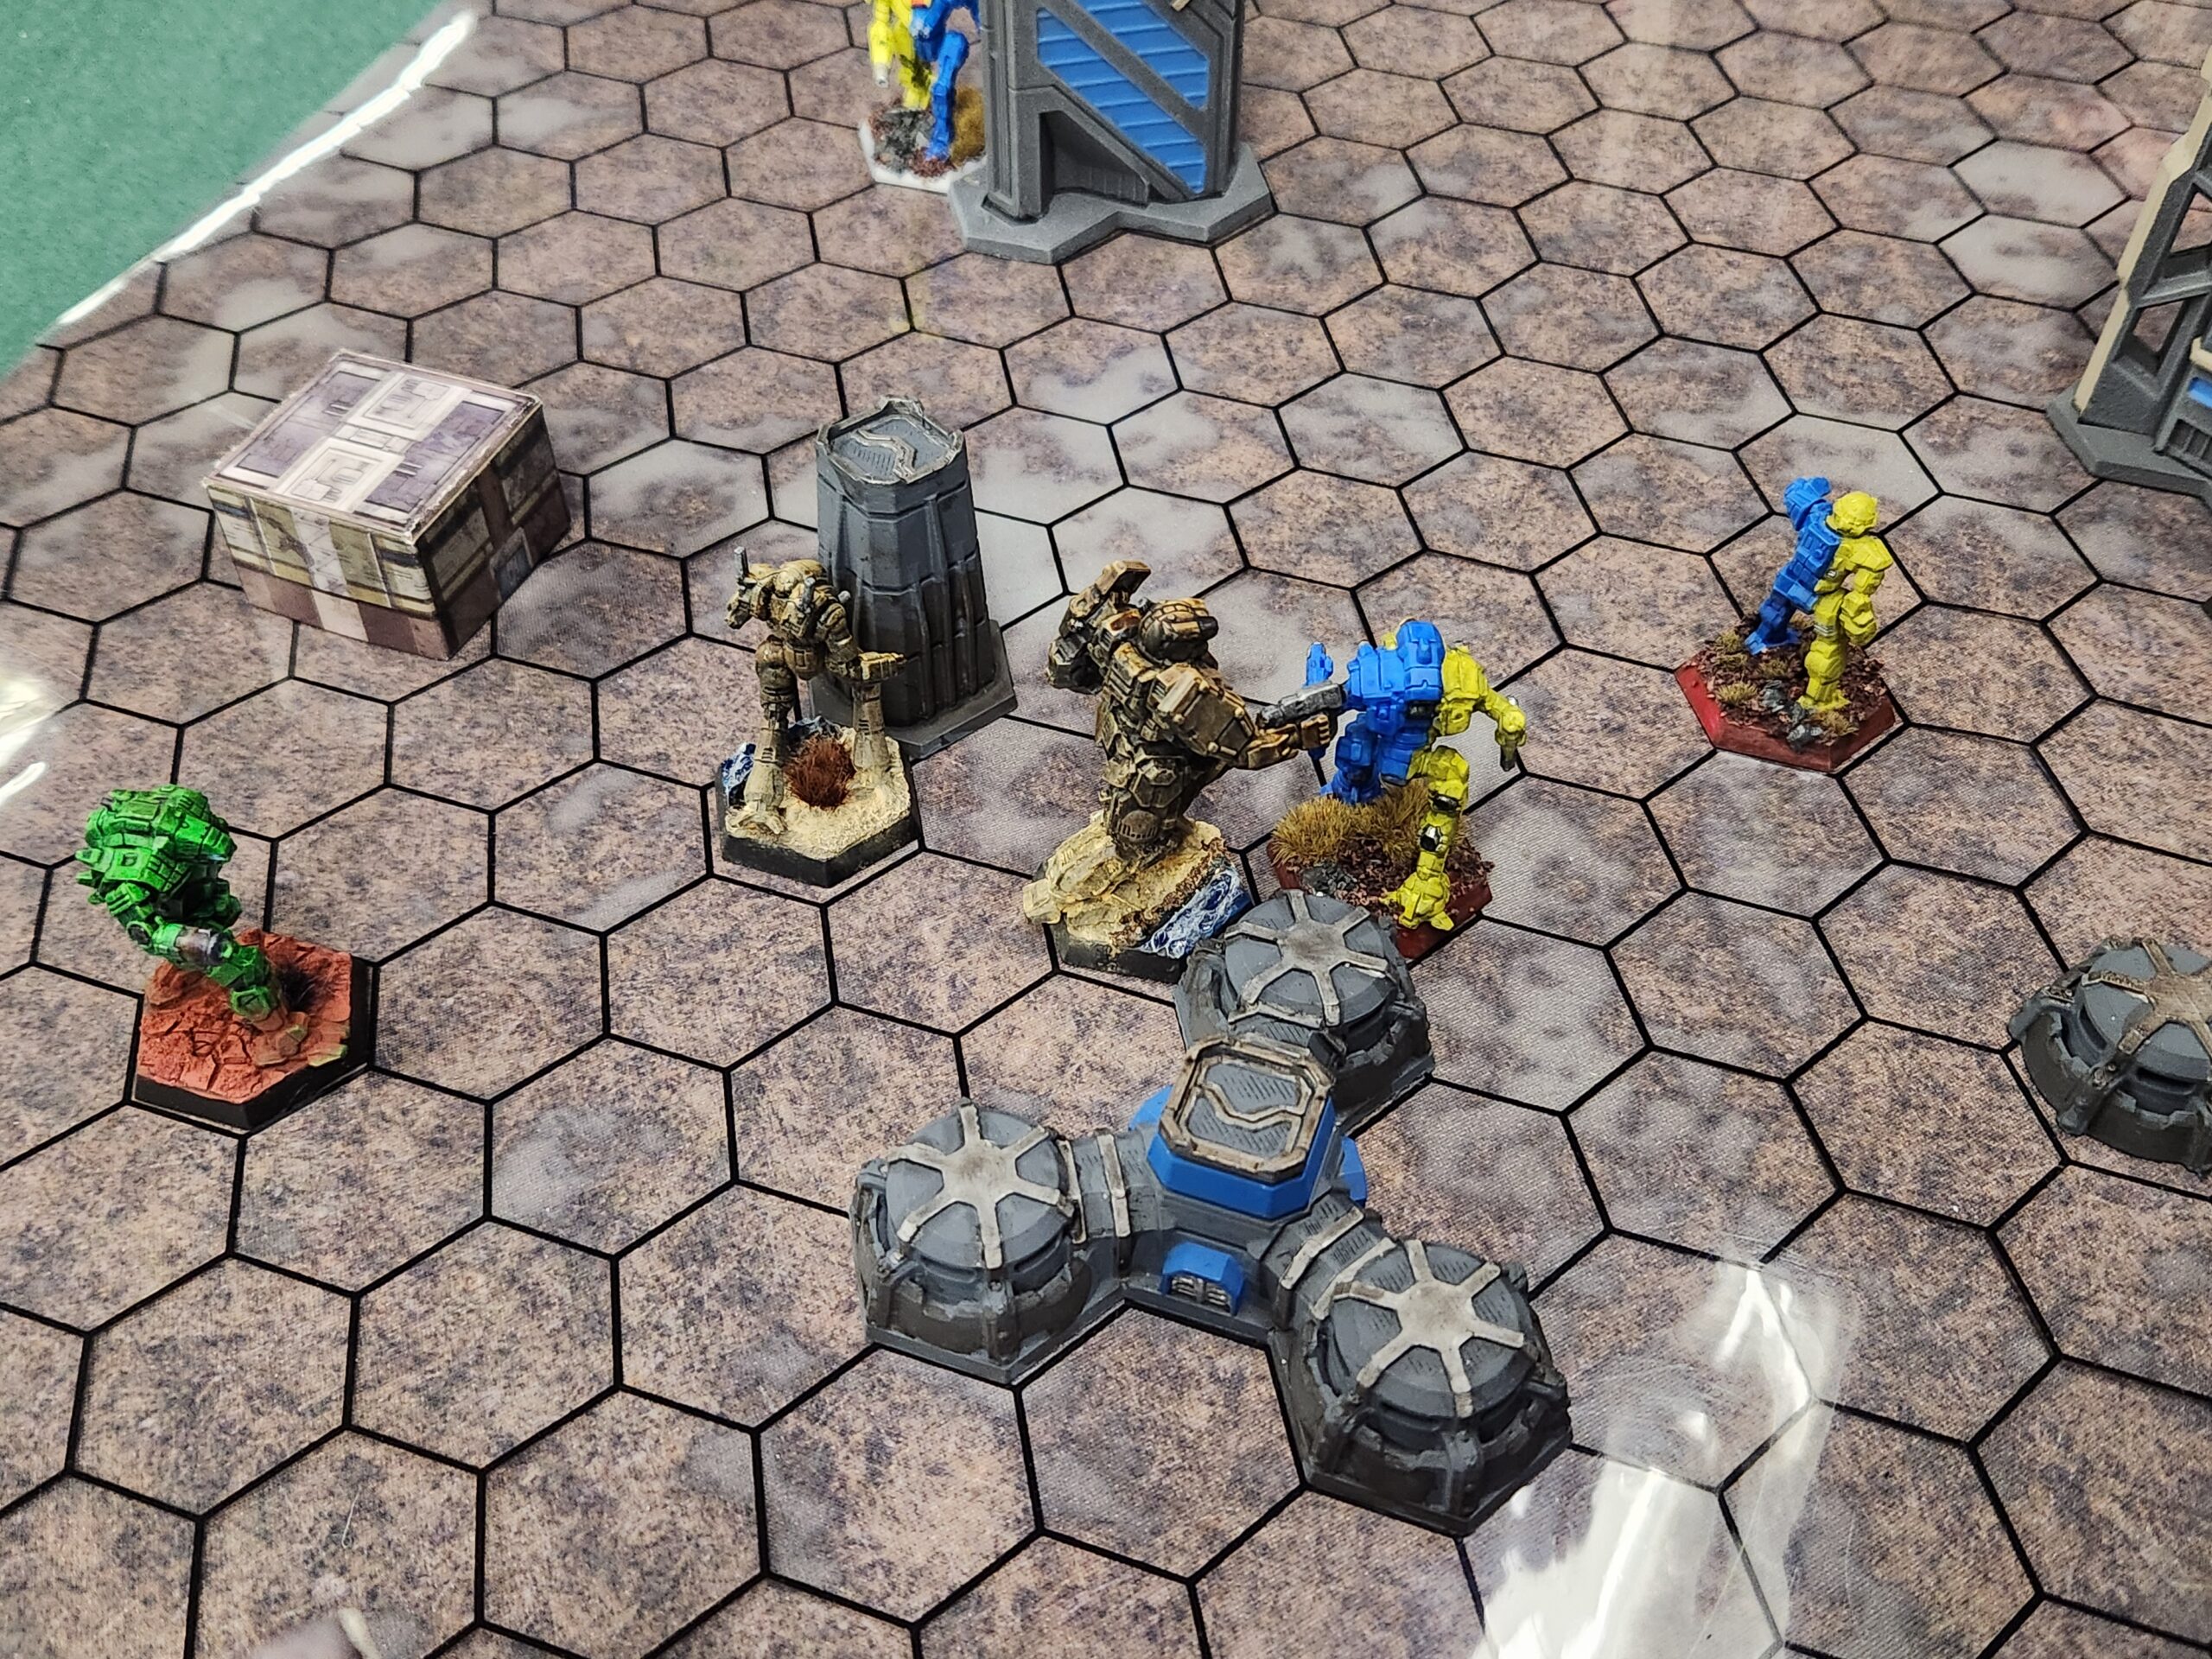
You’ve got some speedy mechs (Commando, Wolfhound), some decently mobile bruisers, two of which are built for melee (Nightsky, Hunchback, Hatchetman), some fire support (Crusader), and a meaty brawler, also built for melee (Berserker). I have, uh, [checks notes] two support assault mechs, one under-armoured trooper, a Clan medium, and two light mechs, one of which is rarely intended for direct combat. Three of my mechs do three to four damage at the mid range and the rest are one damage. I’m pretty sure the Hunchback and the Crusader do more potential mid-range damage than two or three of my mechs combined. This force is not built for a kinetic engagement. However, absolutely every one of my mechs has the ability to interact with the objectives in some capacity.
The Assassin has AECM, the Spartan has AECM, the Charger has AECM and Bloodhound Probe (the Charger C also has these), the Ostsol has ECM, the Hierofalcon Prime has ECM, and the Ostscout has AECM and Bloodhound Probe.
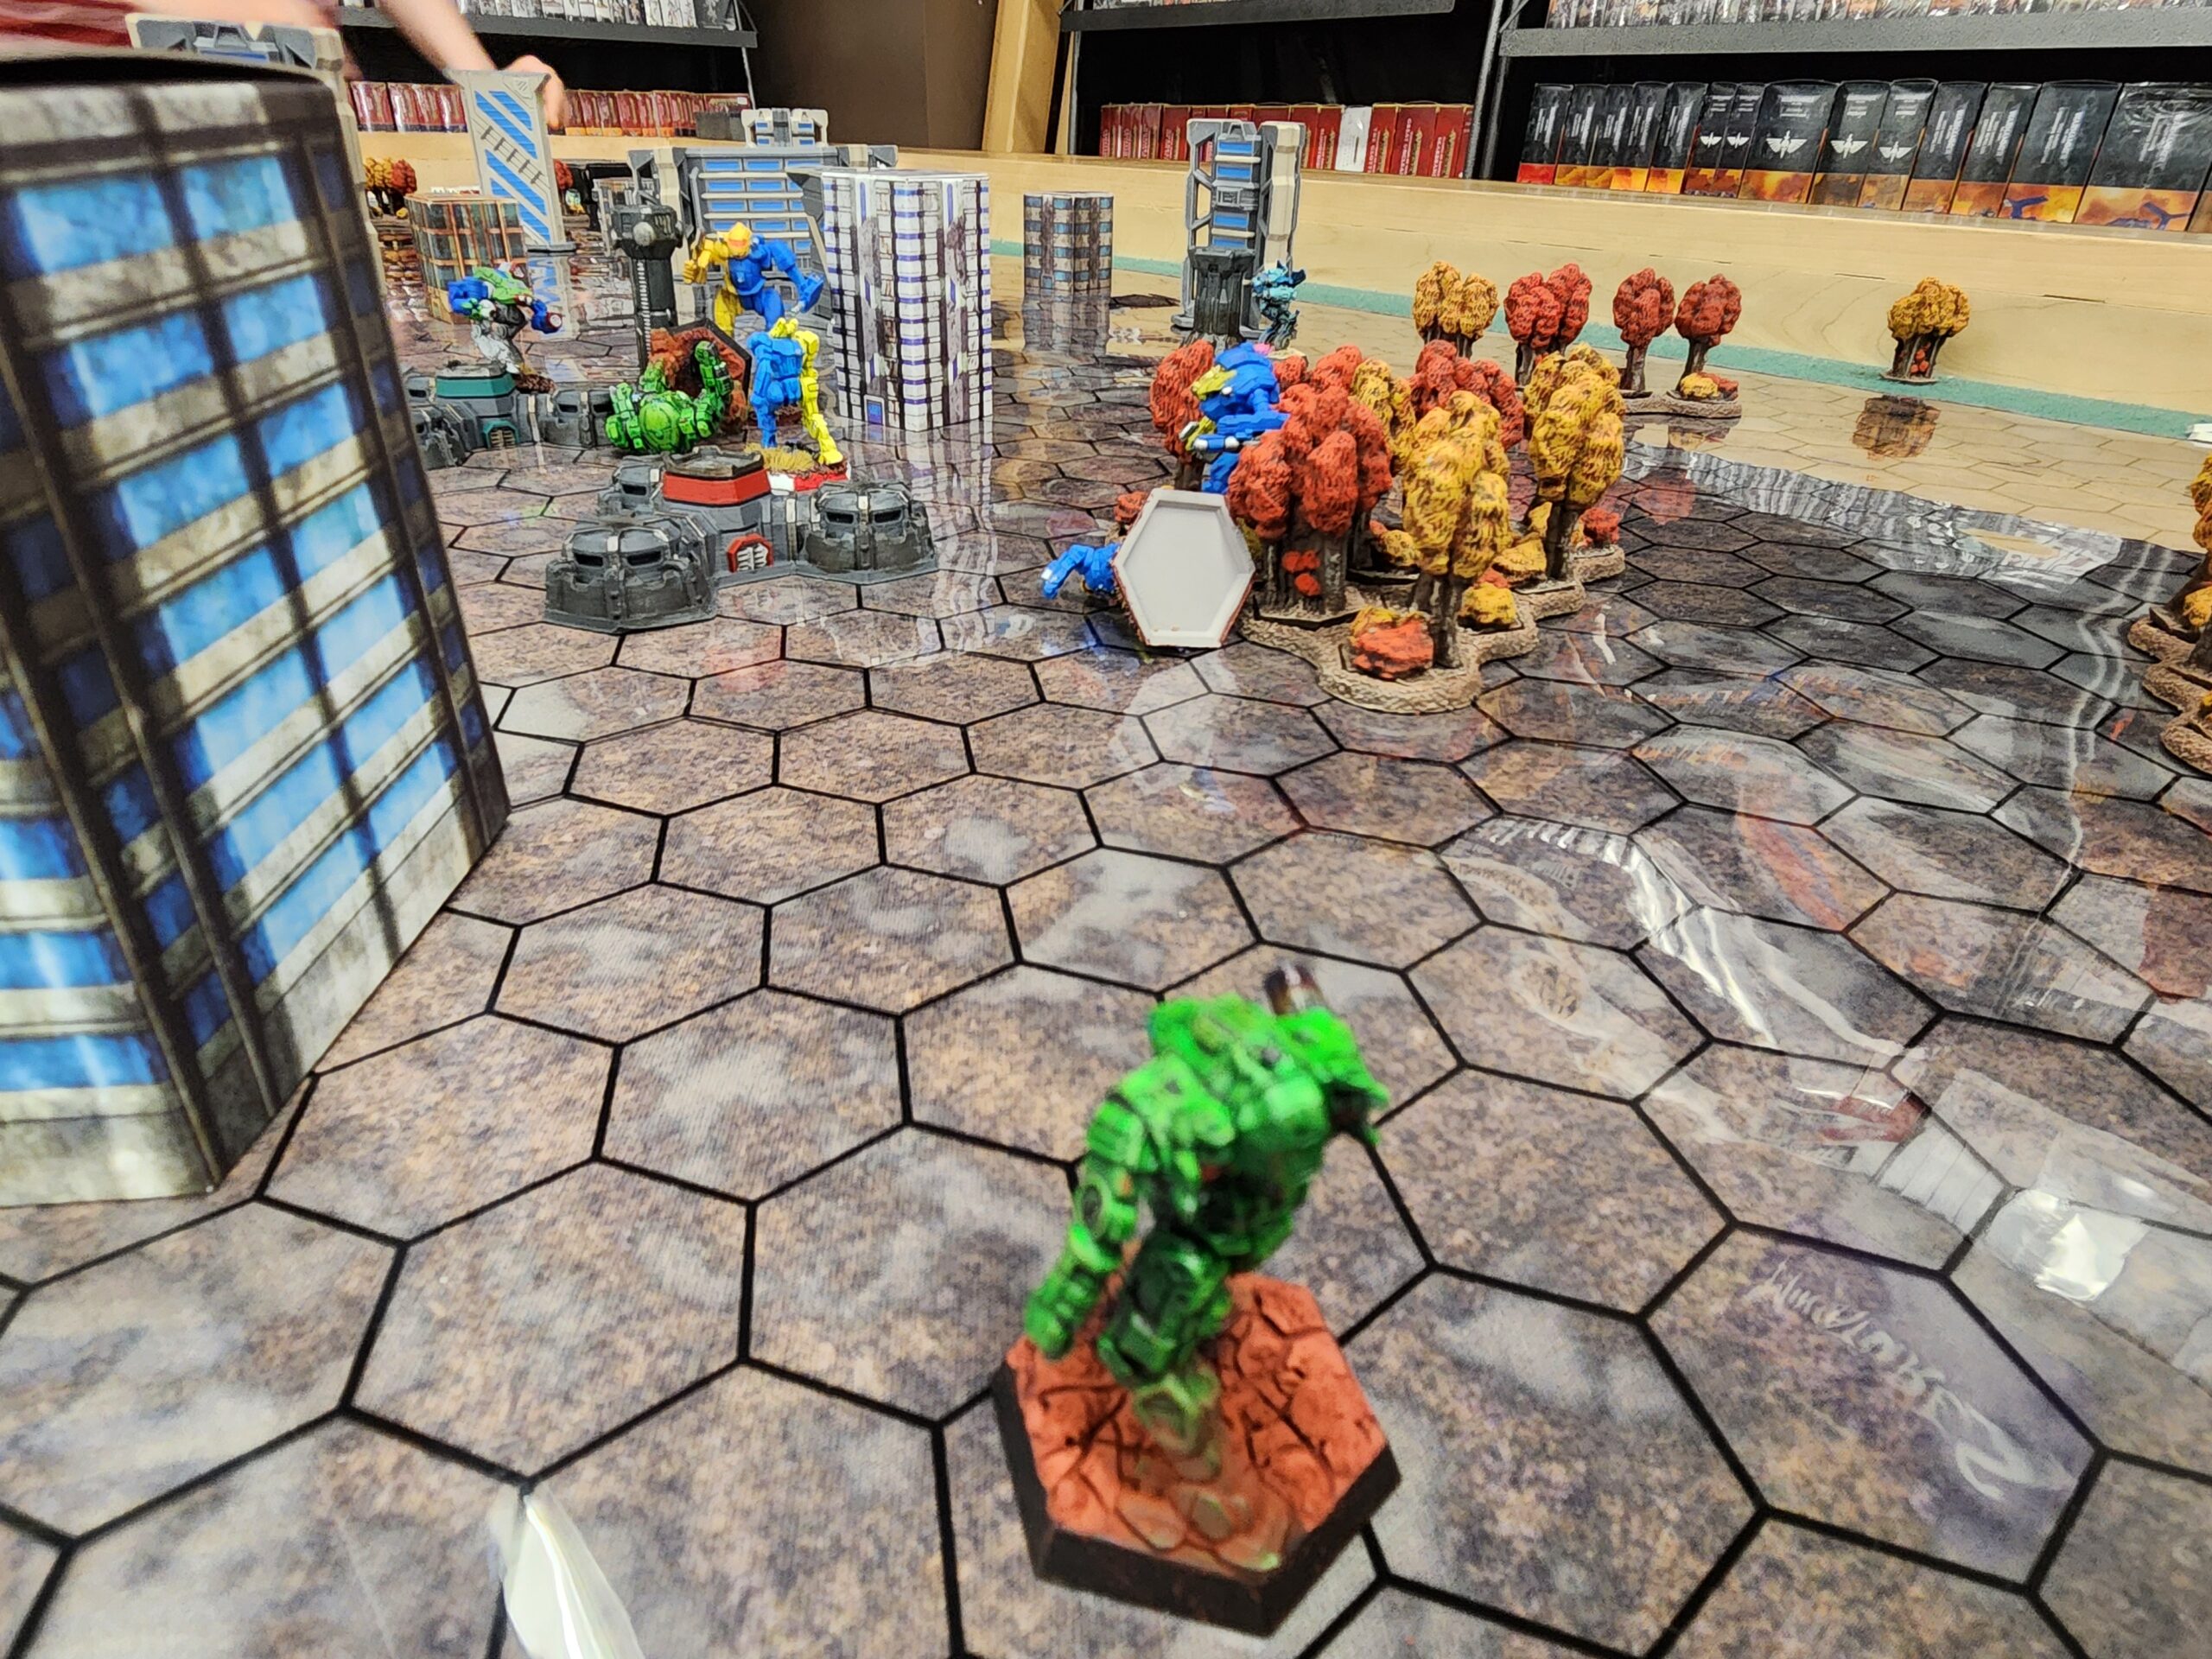
Alright, I’m going to try to recount the turn-by-turn playthrough. I’m not going to bother recounting the times either force fired and missed everything. My list put out a truly pitiful amount of damage and outside of a couple pivotal circumstances it didn’t really matter.
Turn 1: Assess
The middle row was active during this phase, so I jumped my Hierofalcon up to capture the point (the objectives provide cover, as well). In retrospect, I could have played more aggressively and sprinted to get into position, but I was leery of line of sight and also still processing how I was even going to use this force to eke out a win. I should have just sprinted my Ostsol up to direct cover. As a reminder, Sprinting means you can move half-again as many inches as your overall movement speed. You just can’t shoot after doing so. Hypothetically, I could have moved the Ostscout in the background up on the objective on the eastern side of my zone and used the probe turn it on for scoring purposes, but that’s not a realization I had yet.
The deck moves the Wolfhound up to score on their middle objective, as well.
Turn 2: Monitor
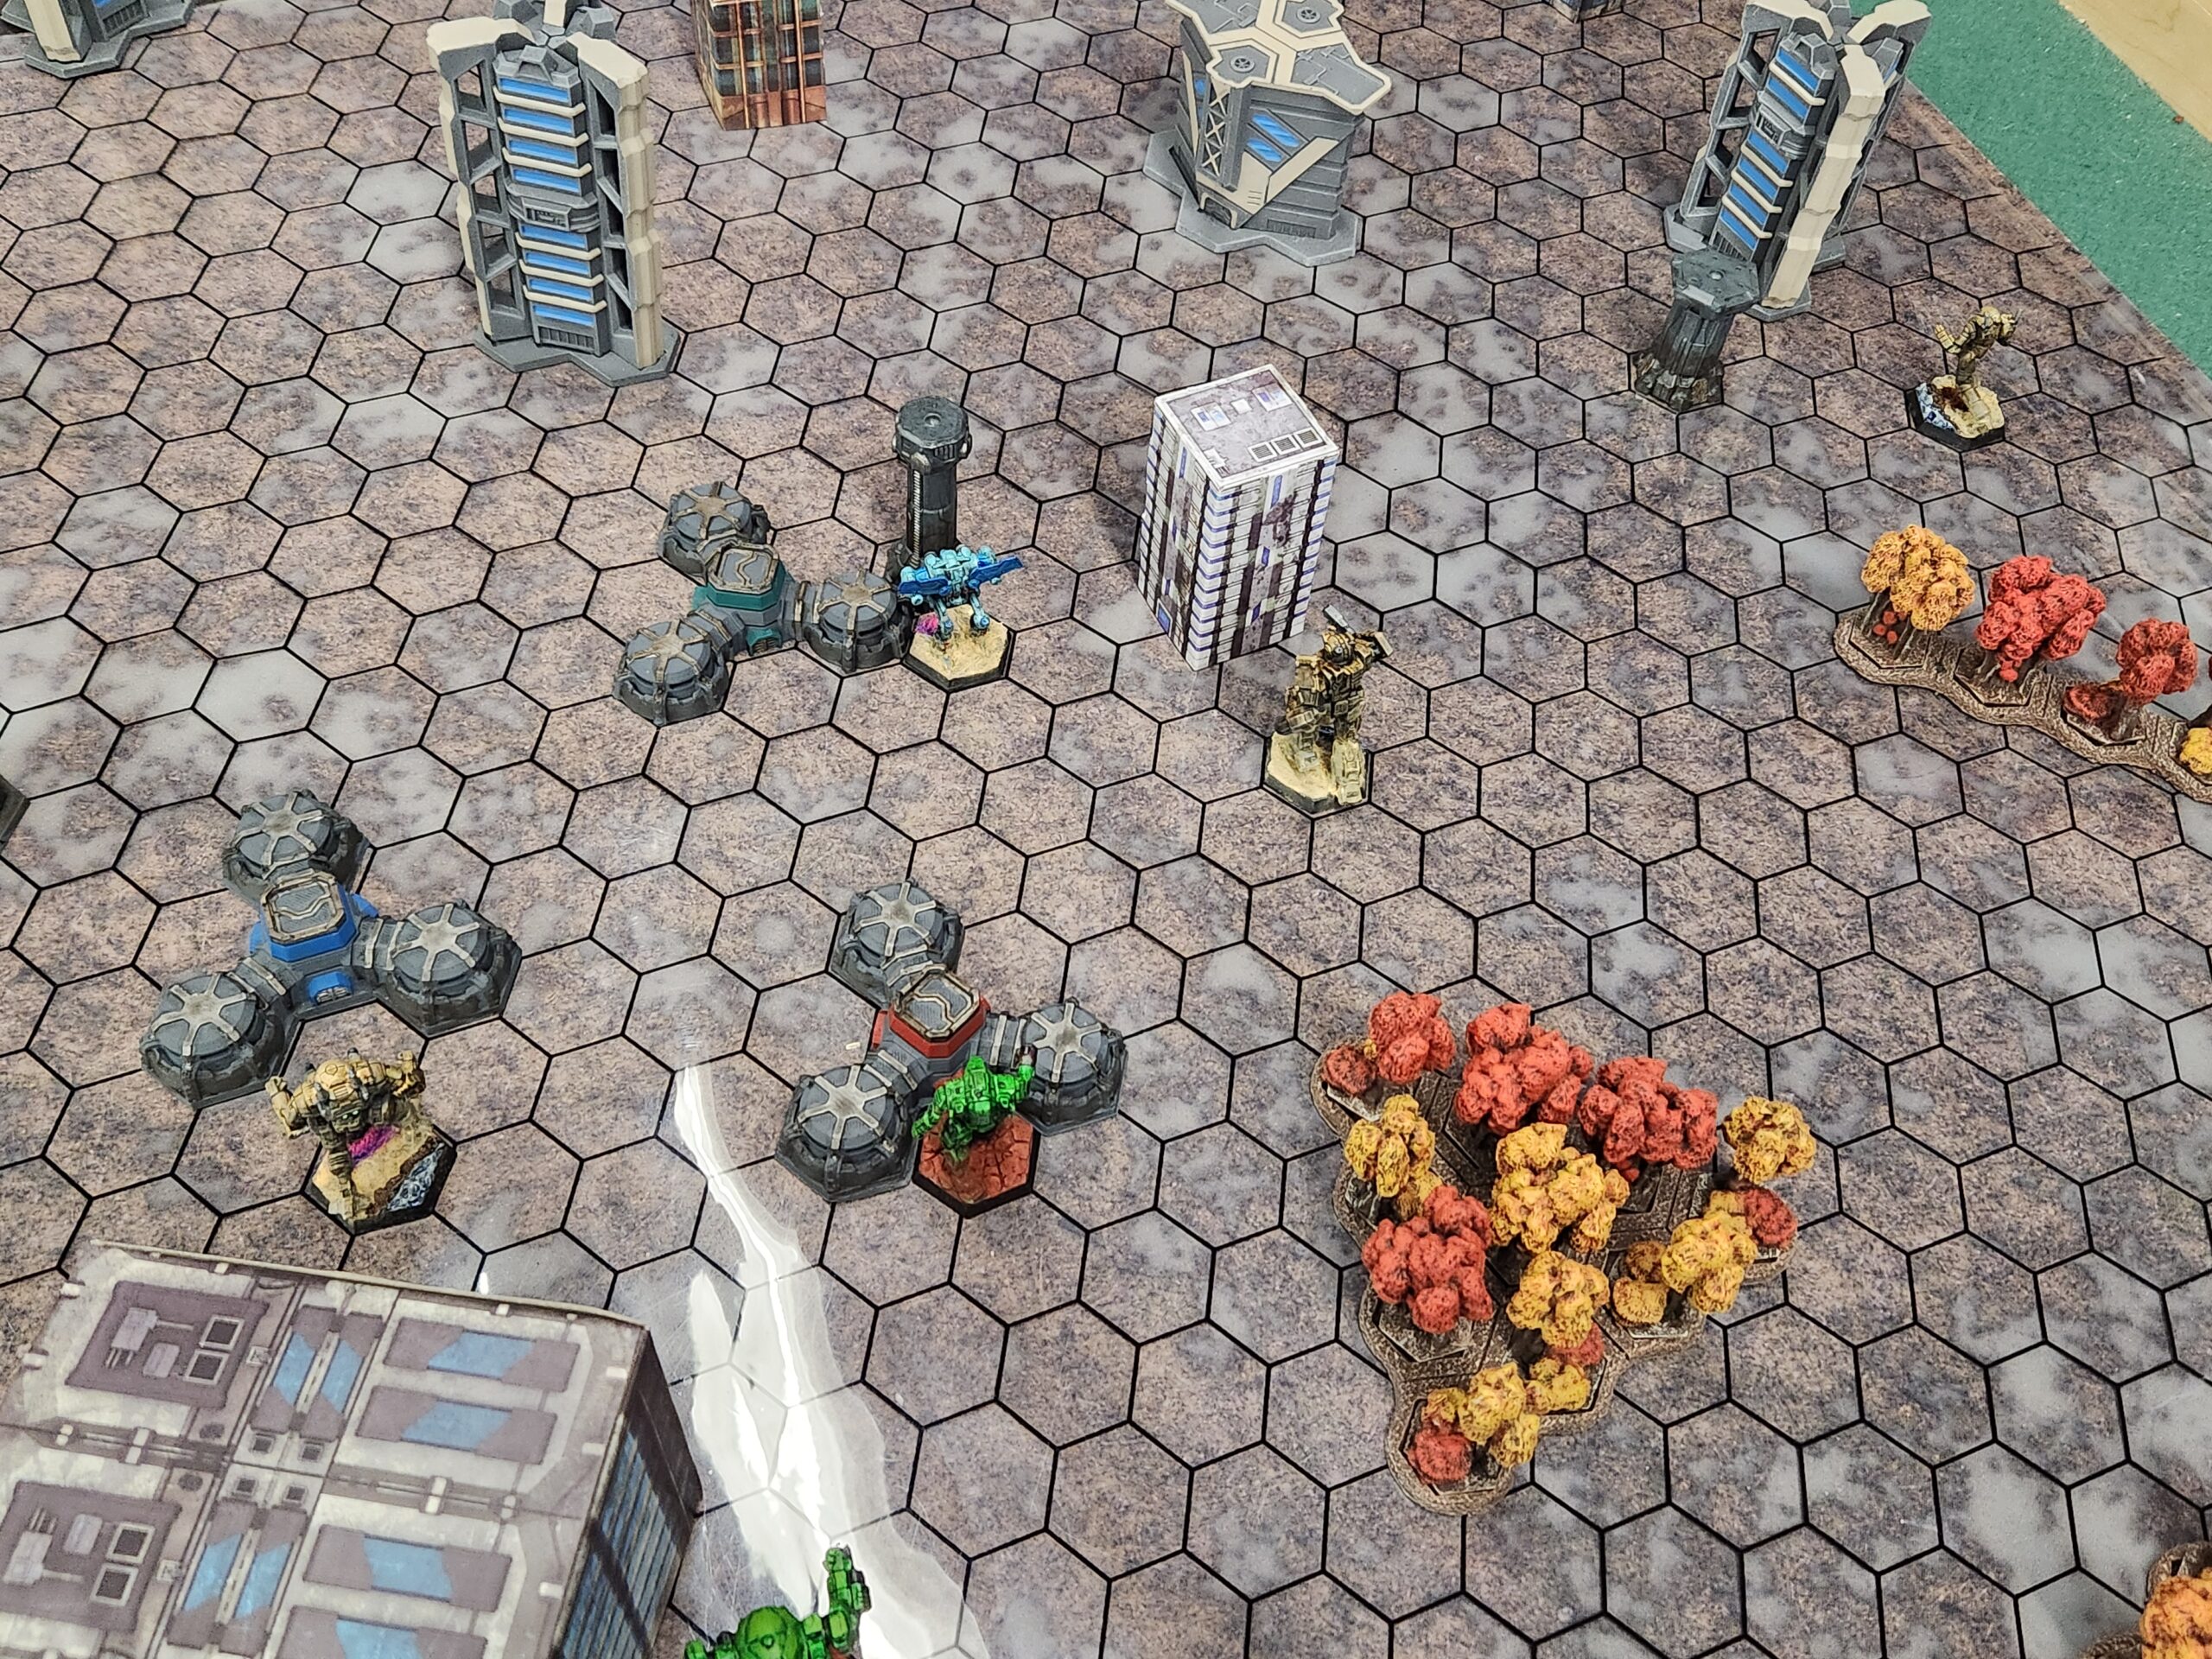
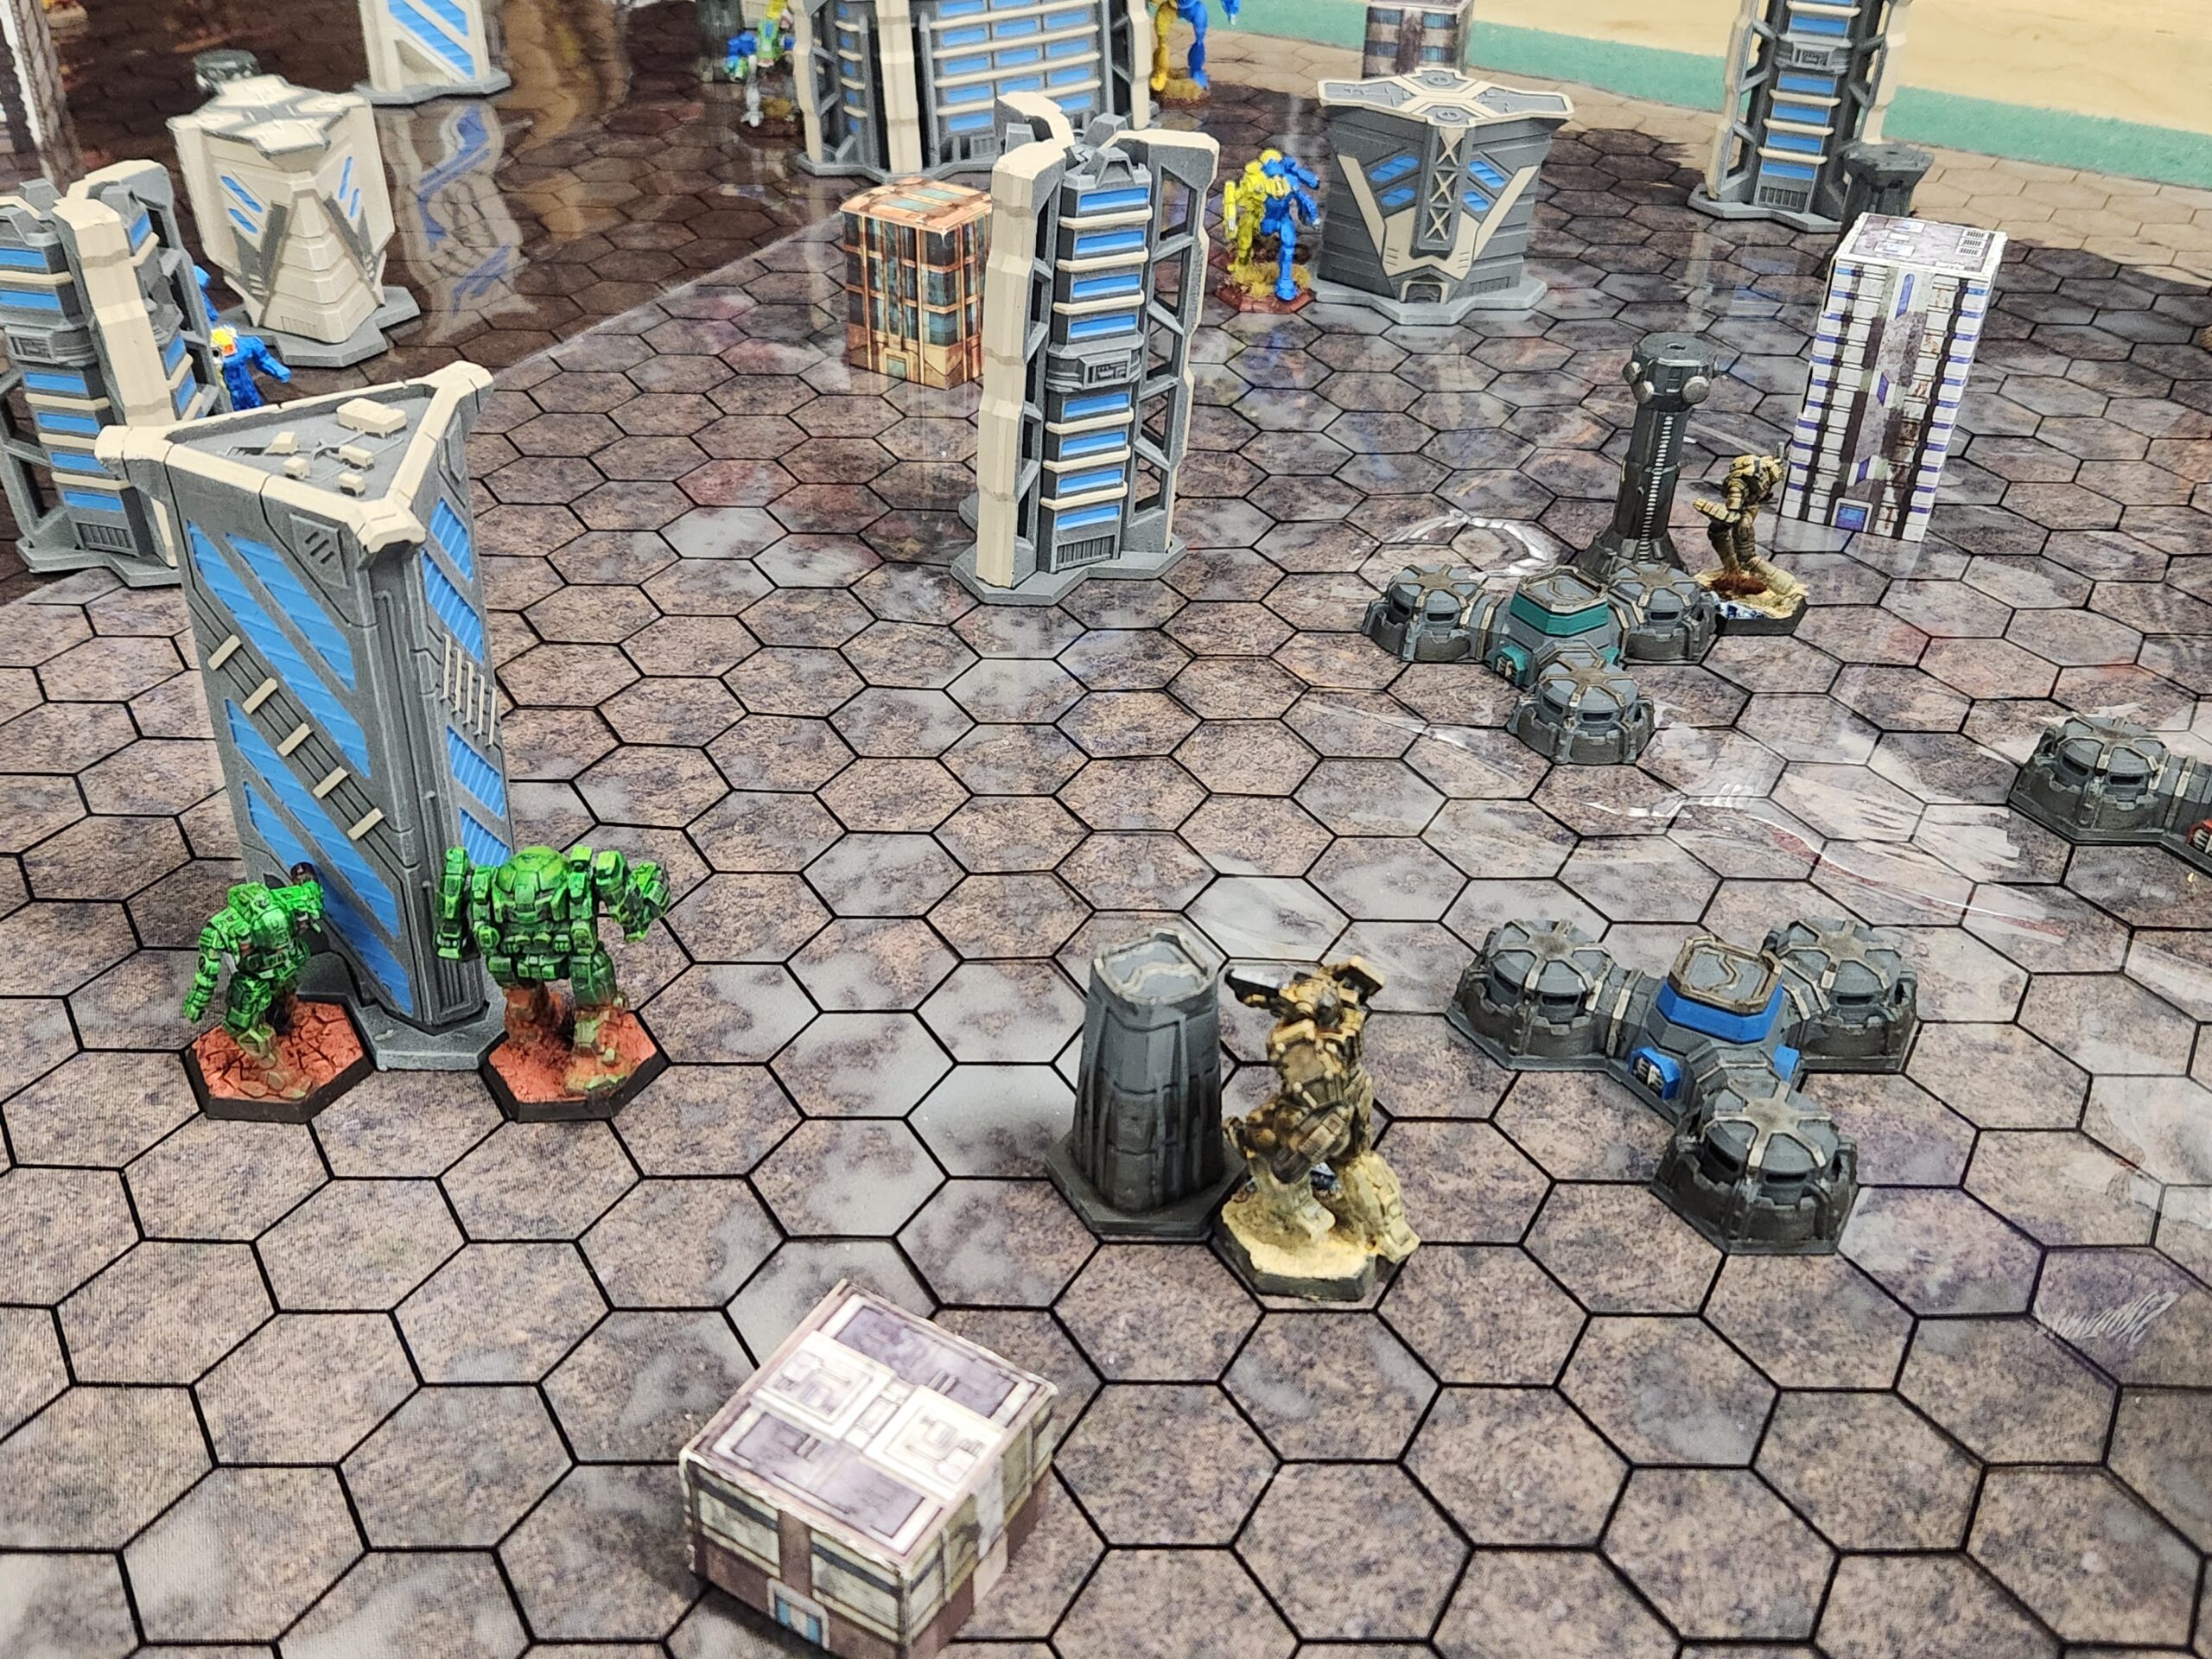
On this phase, the middle and east rows were active. I jumped my Hierofalcon over to the east objective from the middle and moved the Charger into position on the middle. I’m not entirely sure what to do with the Assassin and Spartan yet, but I know the Spartan is going to be plenty tanky and also less mobile than the rest of the force. If it comes to it, I’m going to have to sacrifice that thing. The Assassin needs to stay out of sight and pick its moments very carefully. Not entirely sure what to do with the Ostscout yet, I jump it into some heavy cover. I moved the Ostsol into position, but I don’t think that spot is score-able.
The Berserker and the Hatchetman capture the open points on the opposing side.
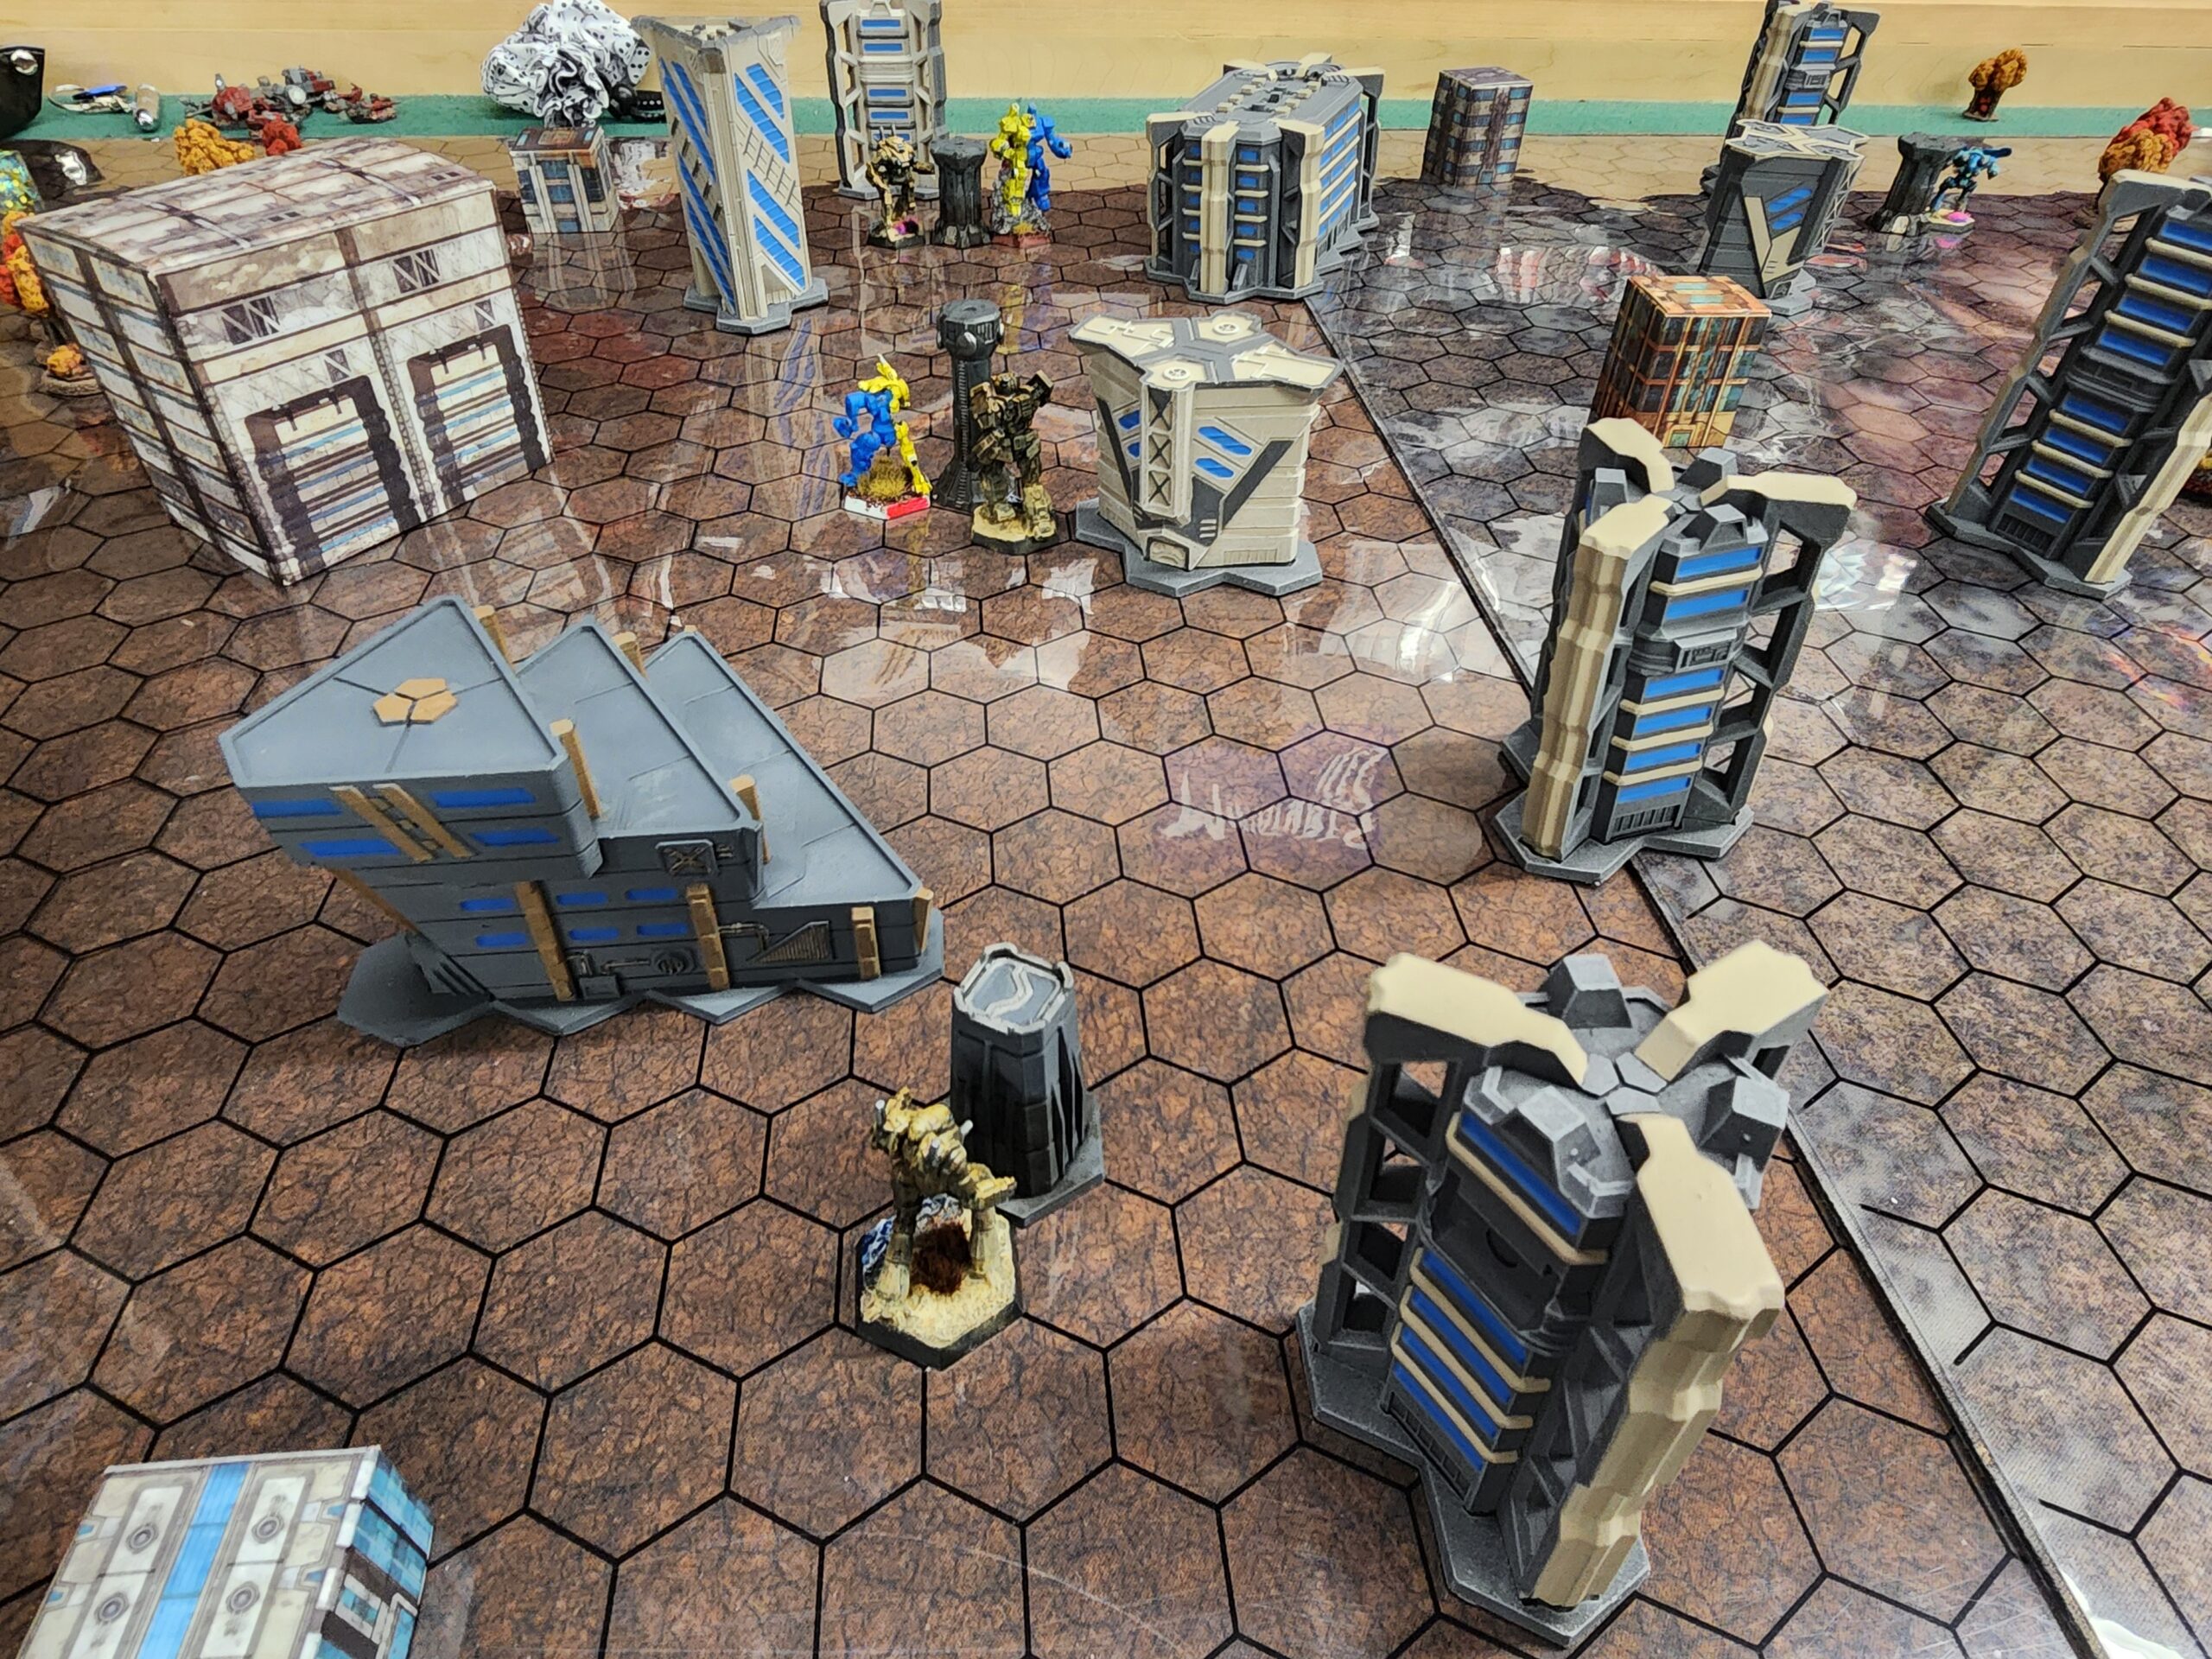
Turn 3: Secure
It’s at this point that I realize I should start using my Bloodhound Probes to activate the communications arrays that are shut down by the storm. If I recall correctly, the two outside rows are available for scoring. The eastern side of the map is way too hot for my liking, so I jump my Ostscout in to turn on the middle obelisk for scoring. My Charger captures the western objective in my half. The Aces deck takes what’s available. I started to move my Ostsol up into the enemy territory to maybe grab their western point if it becomes available.
Turn 4: Engage
I’ve spent the first few turns really trying to avoid a standing fight with a deck that’s programmed to, well, get into a fight. Unfortunately, the eastern row is the only row that was available for scoring on this turn and I’ve been slowly playing ring around the rosie and shifting to the West. So, I moved my Ostscout to turn on the western objective for scoring to cancel out the single objective the deck takes. If I’d been thinking, I should have just used my Charger to turn on the middle objective anyways, but the Charger had a really good opportunity to, well, charge.
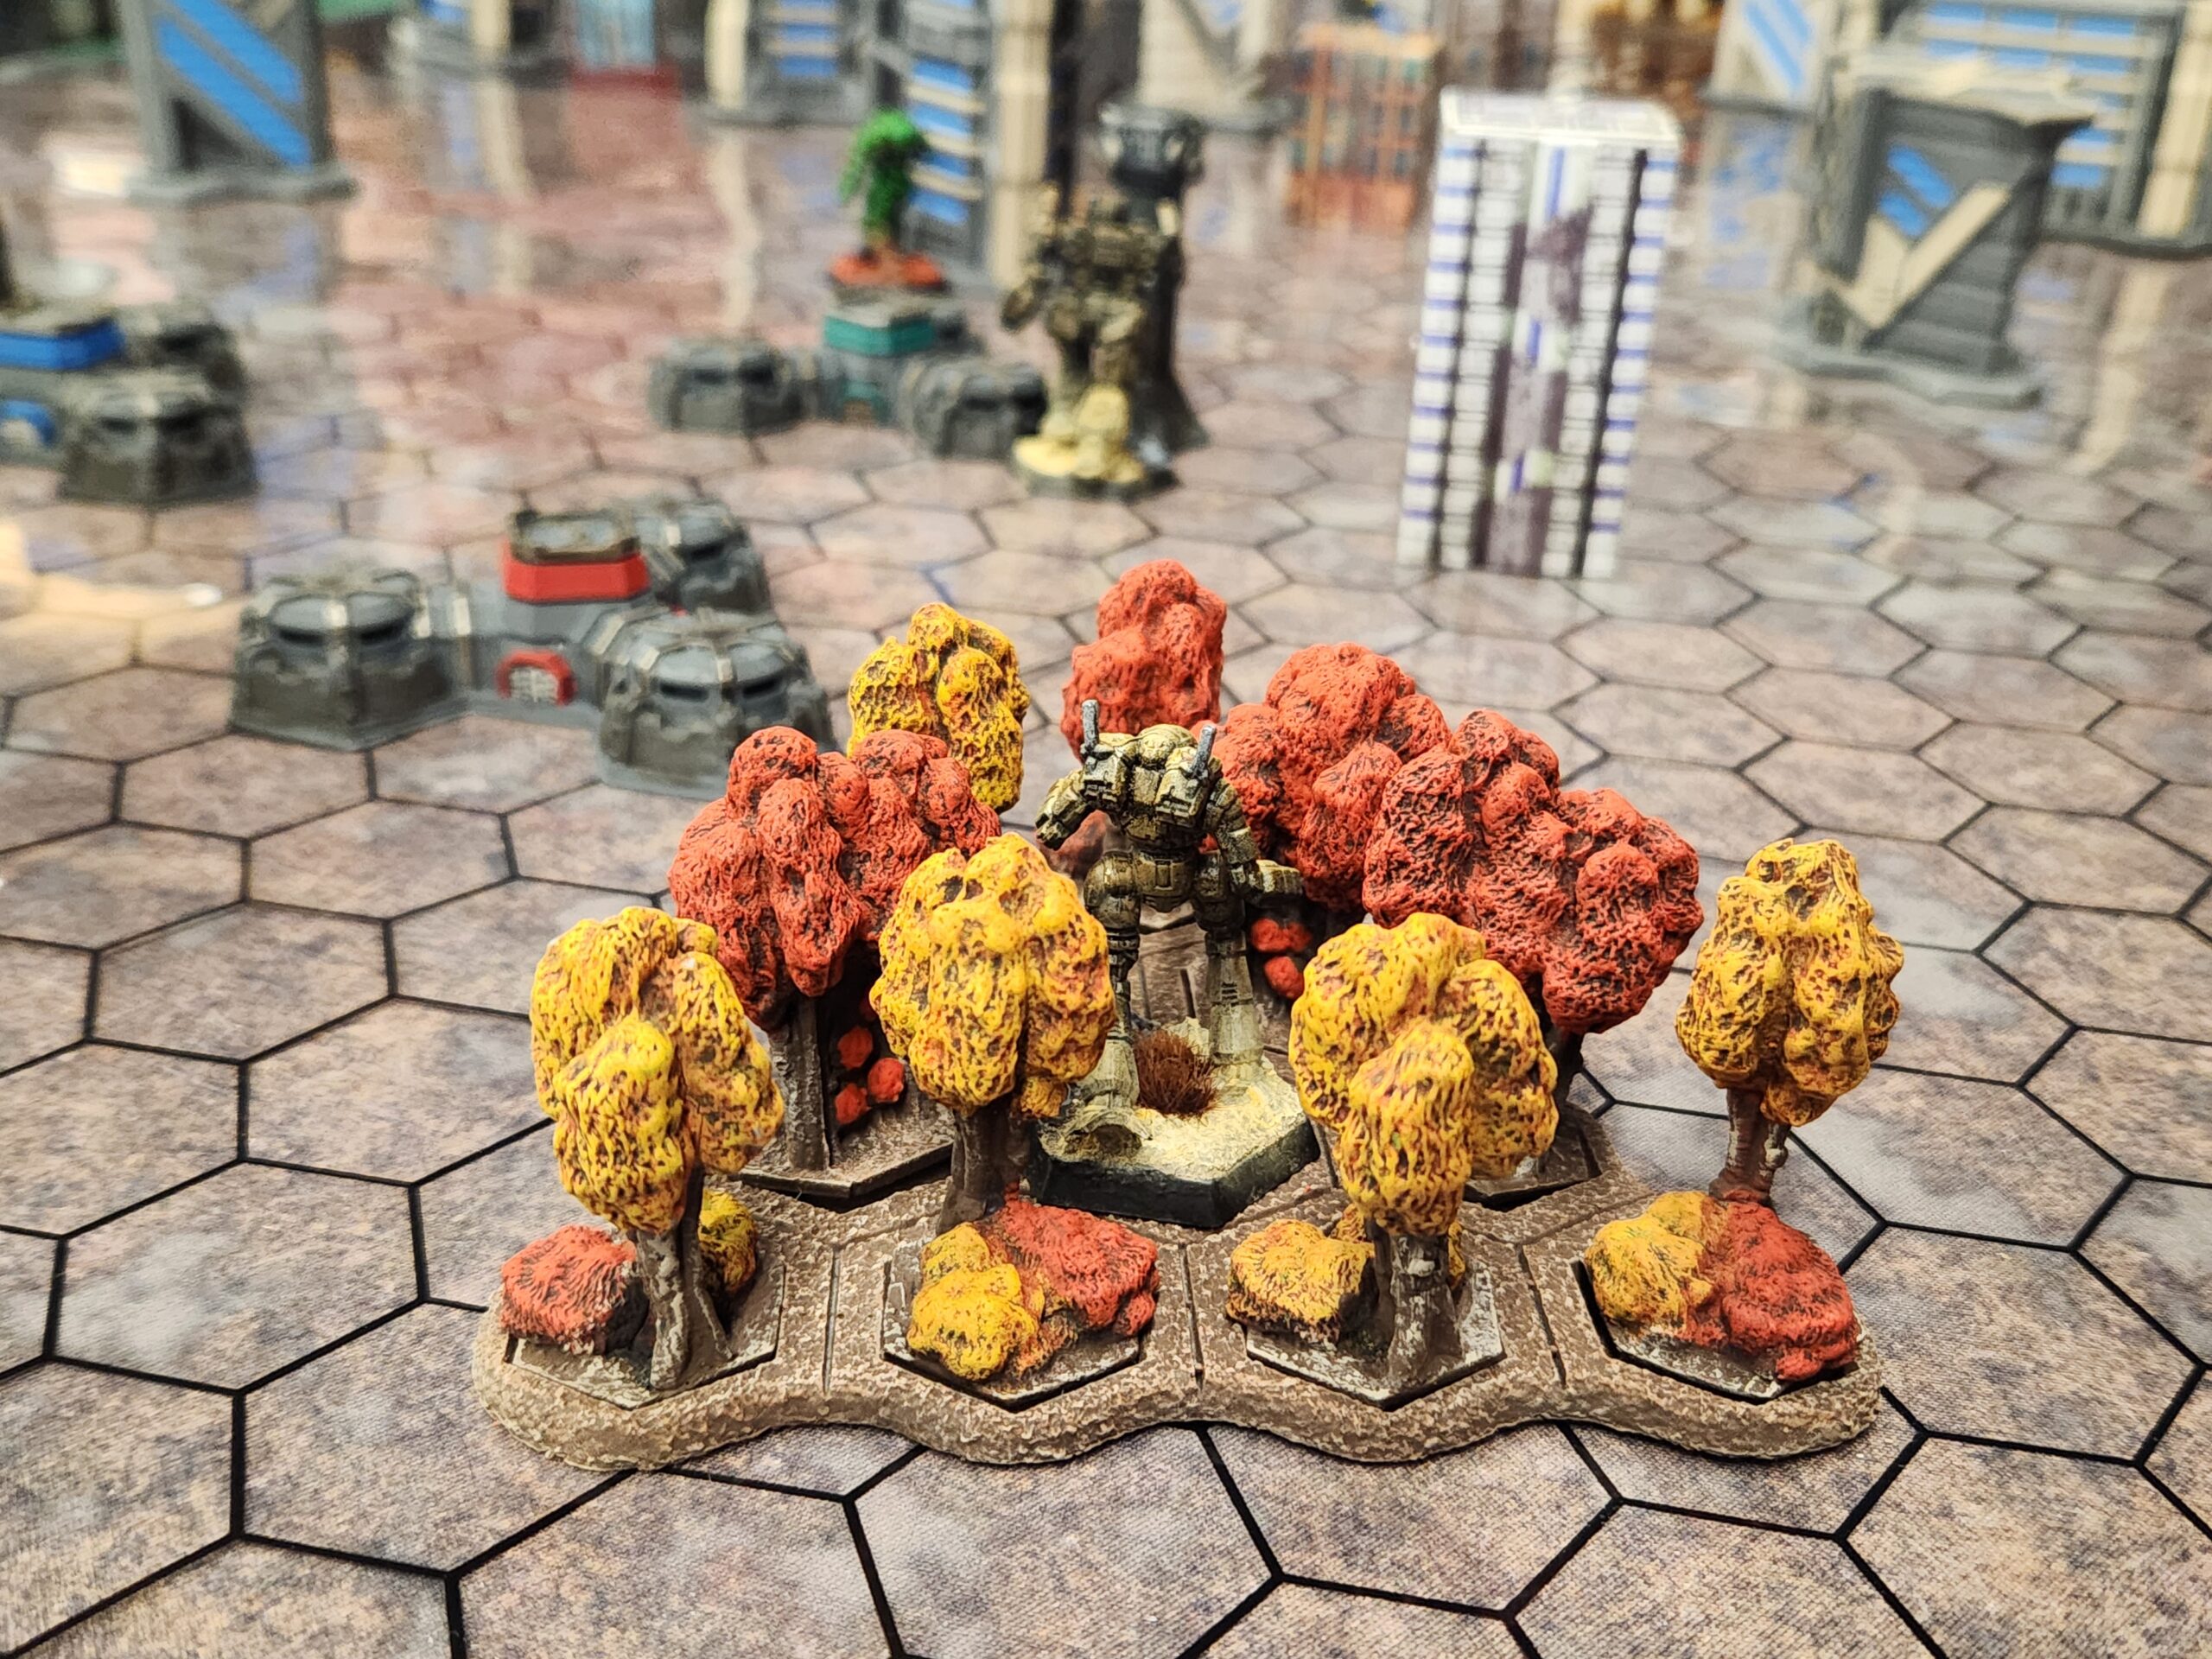
When I say that the Charger has a reputation as a “bad mech,” I mean that it doesn’t do the thing you typically expect of an Assault mech. It’s got a lot of armour, sure, but most variants probably do less damage than a standard inner sphere medium mech, so it ultimately feels like a slow scout mech. However, Chargers are (typically) cheap and they are all fast-moving bricks of metal and myomer. If you run a Charger into something, chances are the poor shithead you just clobbered is going to take more damage than you are. So when the Aces deck moved a Nightsky within a few hexes of my Charger, I had a real opportunity to figure out how the charge attack rules play out in a live setting (testing how much I’d actually internalized from reading the rules three or four times before I got to the shop). I declared a charge against the Nightsky and hoped I’d made the right call (spoiler: this was a suboptimal play, but it was Very Funny and Exciting to Do – I will always sacrifice sound tactical play at those twin altars). It’s worth noting that the Nightsky is generally a proud member of the Jumpy Pulse Bastards club and there’s only one variant I can think of that might go out on an ammo crit. They also all uniformly have 5 pips of armour in Alpha Strike, so even a successful charge isn’t going to compromise them in any meaningful way. However, it opens the door for a lucky shot from something else down the line. Once you go internal, you start rolling for crits and even without popping an ammo bin for an instant kill, motive damage is a real good way to take something out of the fight without having to kill it. I also moved my Assassin to get a rear armour shot on the Commando.
The Aces’ Berserker took my eastern objective and I jumped my Hierofalcon into a relatively safe spot to try to get a rear armour hit. This is probably one of those times I really regretted not pumping up the skill for the Hierofalcon as I don’t think I did a lot of damage. Everybody was looking to start some shit with my Spartan.
And finally, in my zeal to try to get into the enemy zone with my Ostsol, I left myself open for a rear shot from the Hatchetman.

Turn 5: Evade
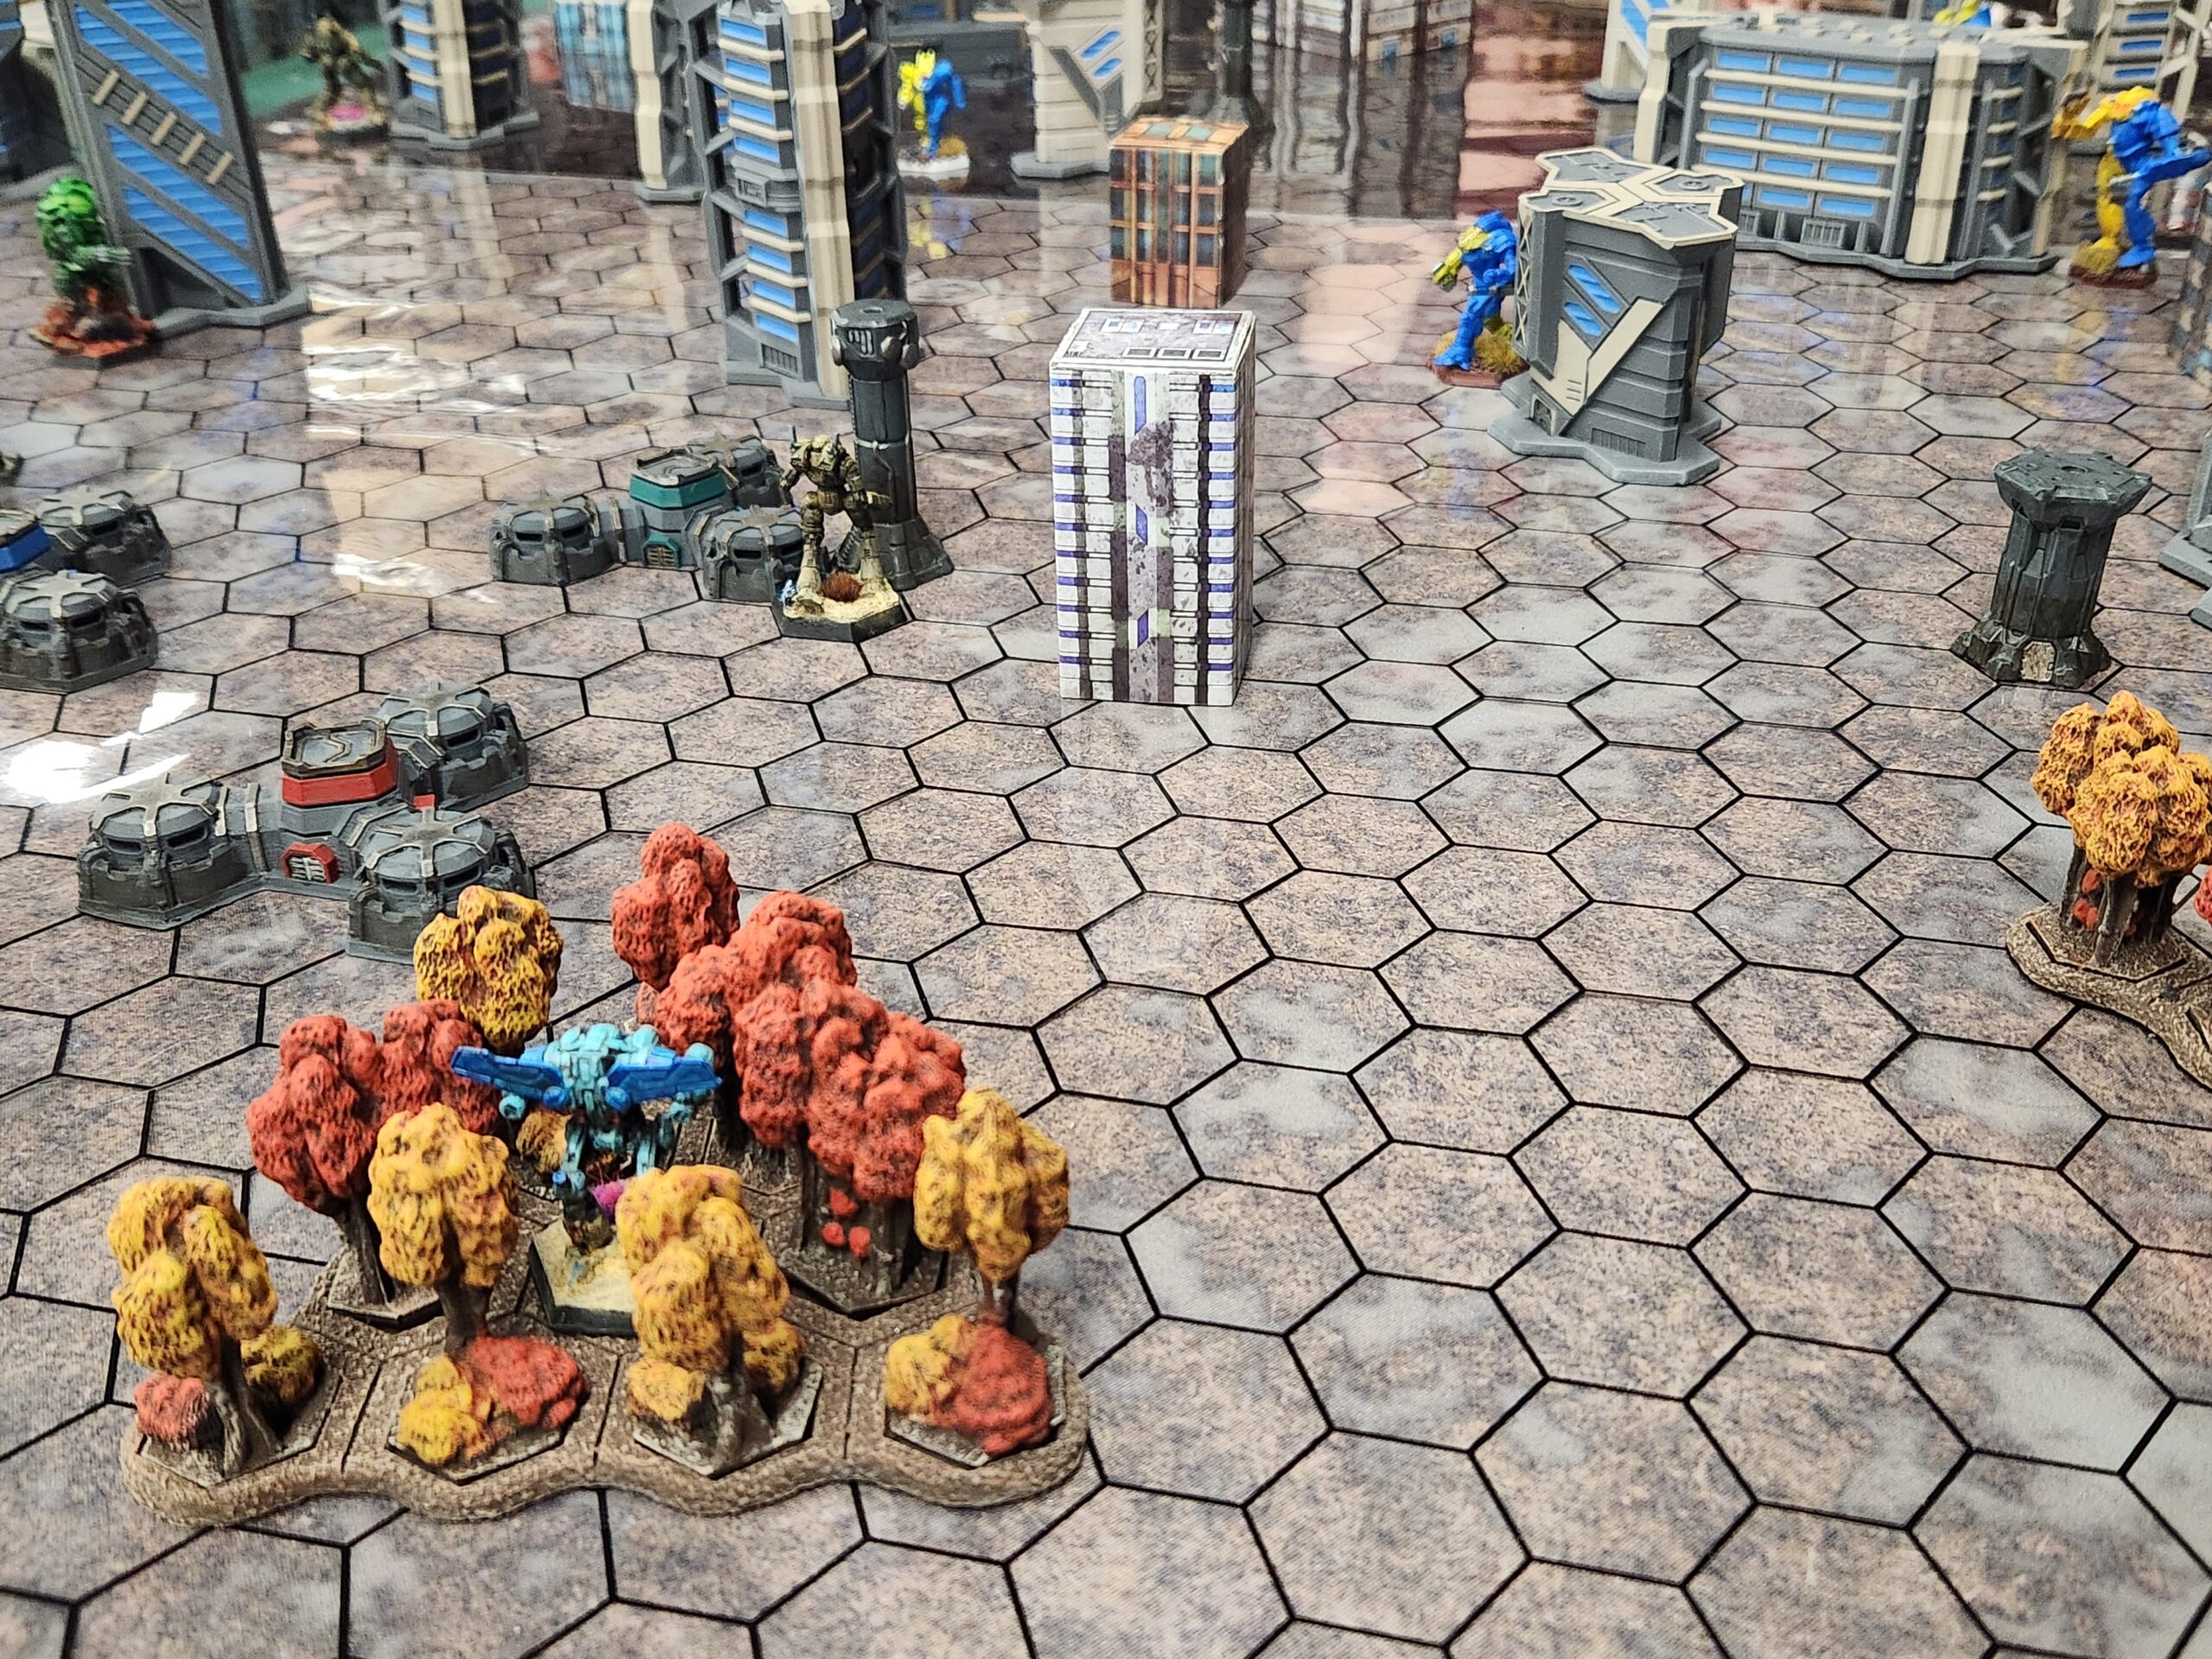
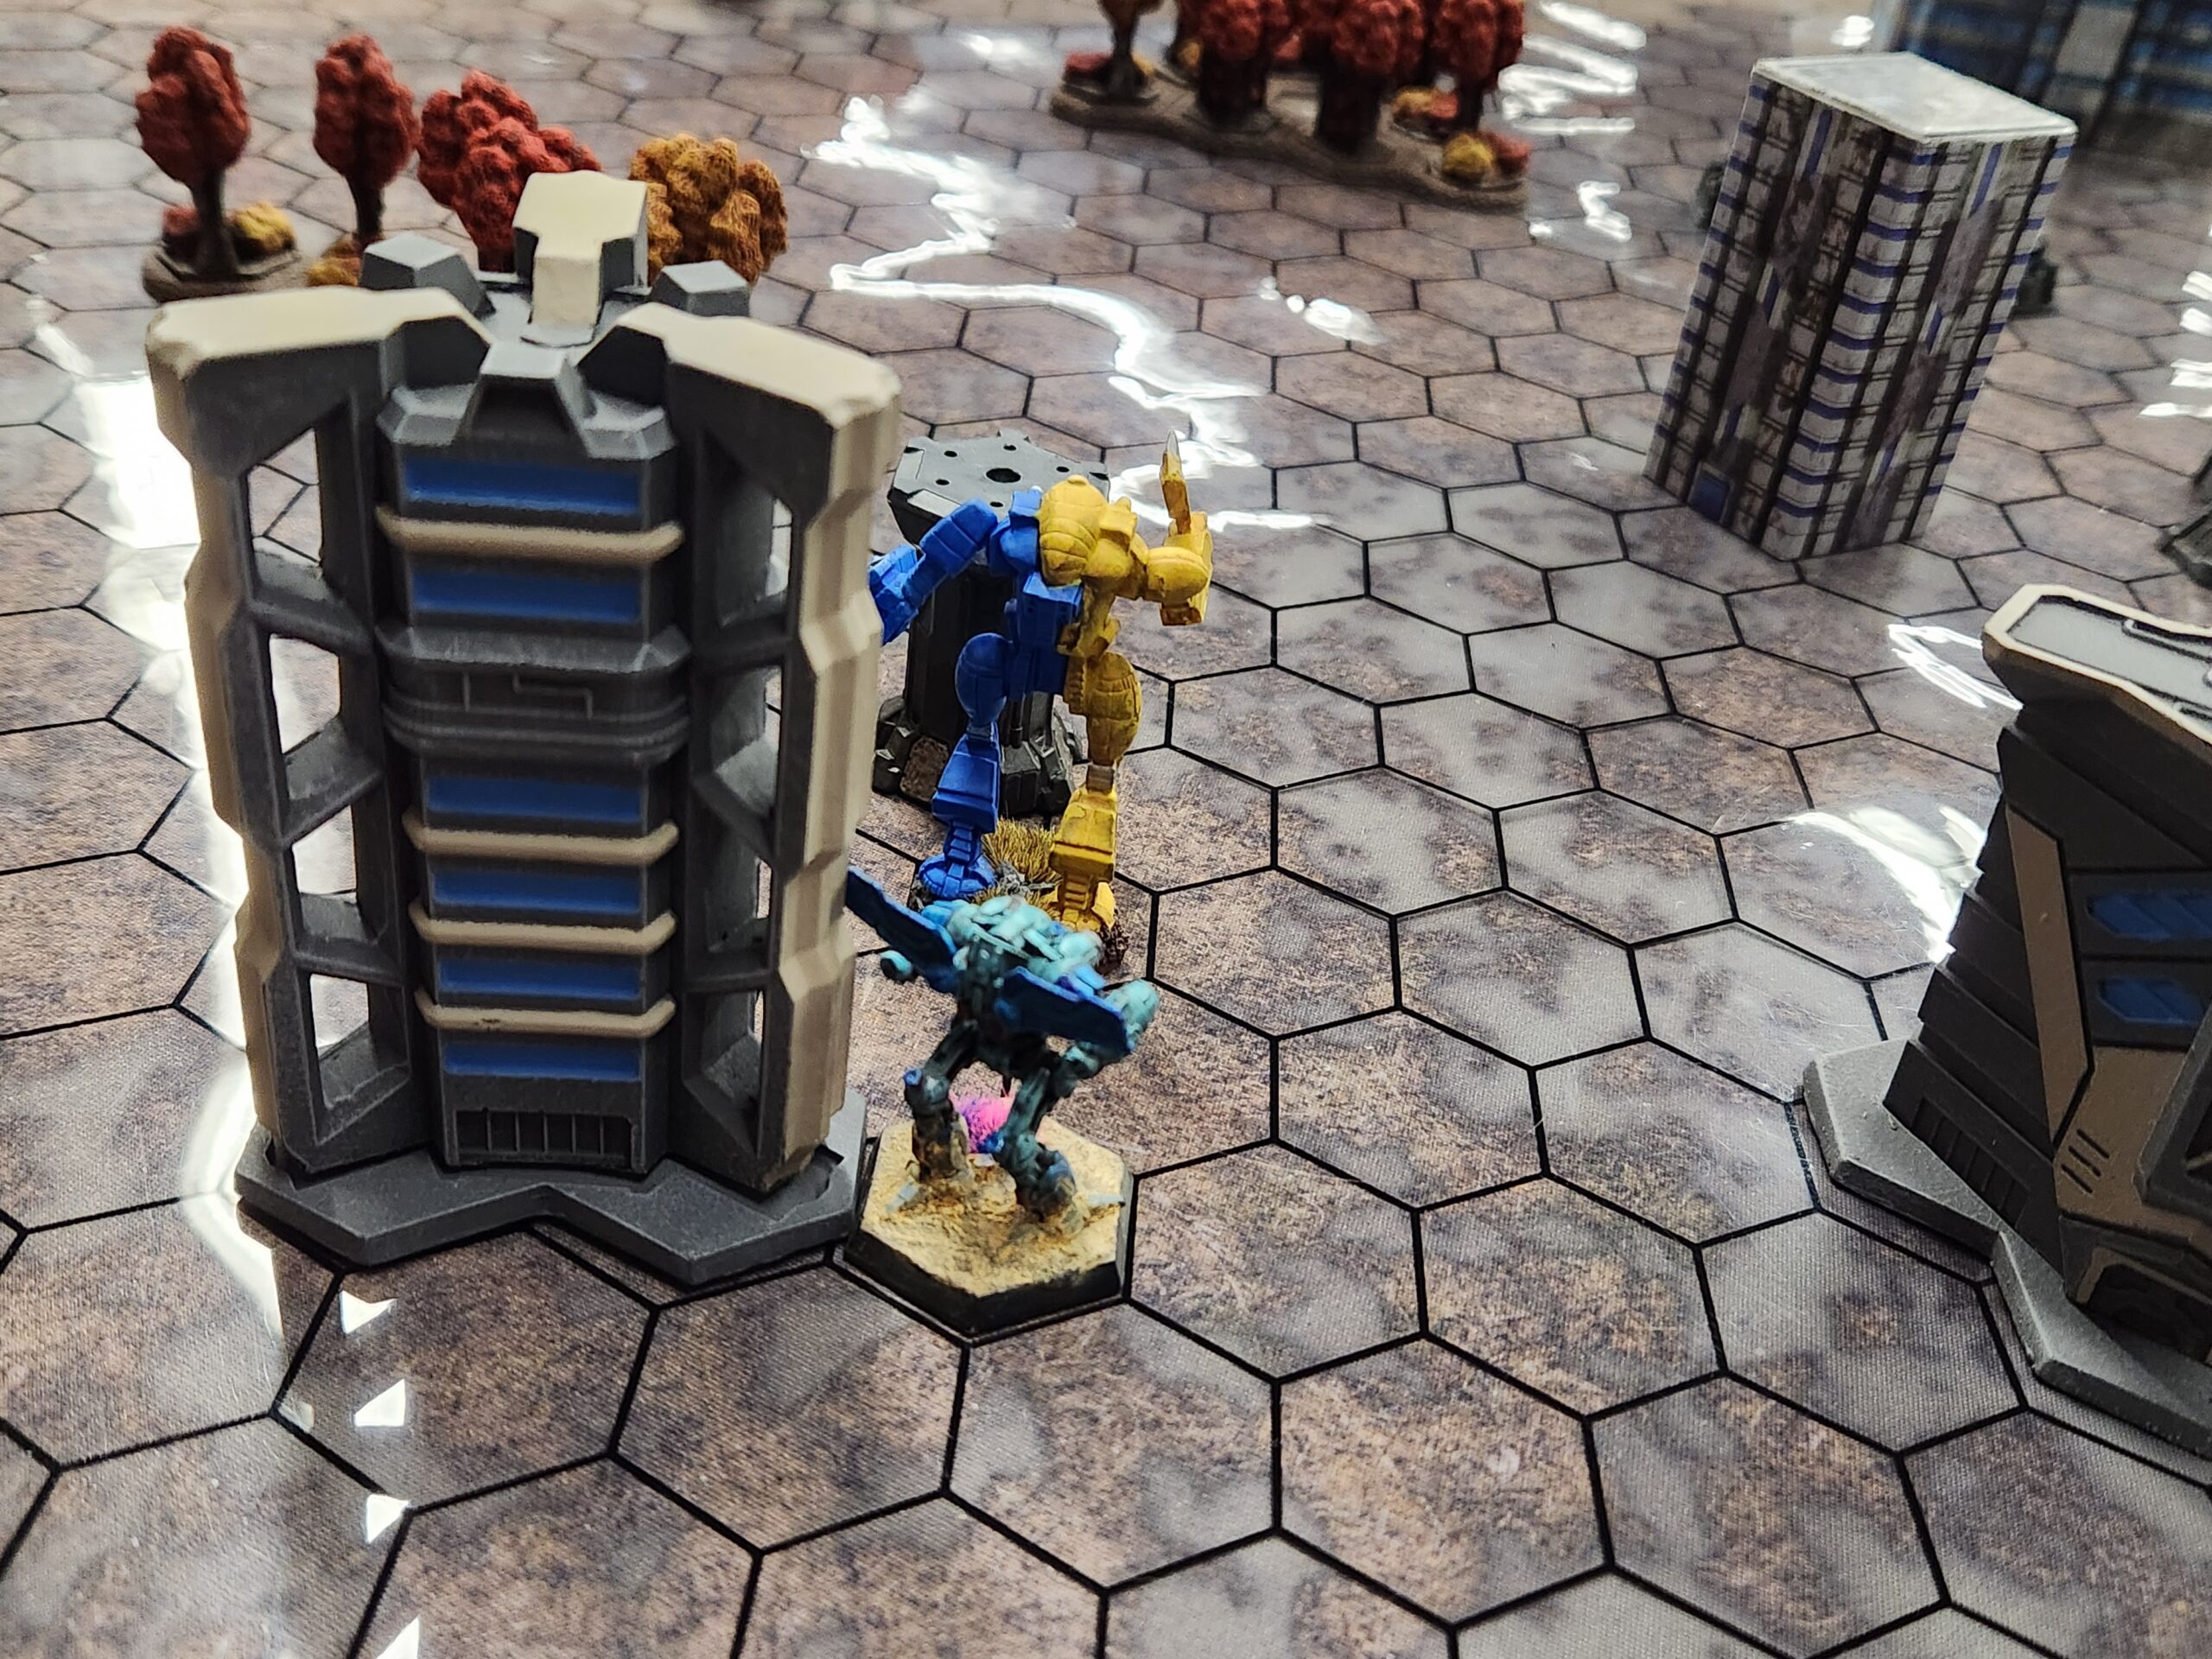
Remember when I said I was probably going to have to sacrifice my Spartan to the Aces deck? Well, their time has come. On this turn, the middle and eastern rows are available for scoring. I tried to throw my Spartan on the middle objective on my side, right in the middle of the Berserker, the Commando, and the Bushwacker. My hope was to survive and contest the objective.
The Nightsky I just charged jumped into the trees to cover its rear armour and get line of sight on my Spartan. The rest of the Aces deck immediately moved to clobber my Spartan, and while they were busy throwing a boot party, my Charger sprinted to capture the middle point on the opponent’s side, my Hierofalcon hopped onto the eastern point, and my Ostscout moved to turn on the western objective on the opponent’s side. I am pretty sure the Ostsol turned off the eastern objective to stop the Crusader from scoring, but also received a lot of withering fire for its troubles.
My Assassin finished the job on the Commando, scoring the first and only kill of the game for me.
Turn 6: Endgame
It was getting to be time to wrap things up, so we ran one more turn. I was up by two points at this time. The western and middle rows were available for scoring. I ran my Charger over to the eastern objective to turn it on. I jumped my Ostscout in place to get its TMM up and then used AECM to turn off the western point captured by the Hatchetman. I then ran my Assassin in to turn off the western point captured by the Bushwacker. My Assassin was untouched this entire match, and was able to weather a rear armour shot from the Nightsky. Sadly, my Ostsol succumbed to its wounds after some indirect fire from the Crusader. My Hierofalcon got some rear armour shots on the Hunchback but did not manage to secure a kill.
The Aces deck scores the two middle points, uncontested. I maintain a razor thin lead with that one point scored by my Charger. Game over. Time to pack up.
Some Lessons Learned
If I had a set of recommendations I’d make to anyone who’s nervous about putting together a force for a pick up game with a set scenario, it would probably look like this:
- Read the scenario first, make a note of any and all specific restrictions. Write them out on a post-it note if you have to while you search for variants to bring to the game.
- Have a couple of lists in mind, but plan for:
- A list to cover the entire force by yourself
- A list that will cover the entire force but can be evenly divided into 2
- A few extra options if you need to fit into a larger force comprised of more players.
- If you’re new to the game, think about building a list that’s easy to apply to the scenario. You’re going to burn a lot of brainpower just keeping basic rules straight – don’t make it harder than it has to be.
That last bit is probably part of a larger post I’ve been working on as I prepare for an actual-ass convention (but not tournament) in my area in a few weeks. What I put on the table was probably a Bad List, but it was viable in part because I wasn’t playing against an actual human, so they were constrained by the deck of cards (which, to be clear, played super well). It was also viable because I, a dumbass, had a list full of units that could mostly do the same general stuff, just in different ways. My Charger and Ostscout needed to survive because they could score when the storm turned against me and the rest could stop the deck from scoring in the right circumstances. It helped that everything had high TMM and several had stealth, so they were generally more durable. I just didn’t have any meaningful damage output. This is, in part, why I lamented not bringing the Charger C. A little more durable than what I had, *and* it did 6 damage short, 6 damage medium. Live and learn, I suppose.